Game Development Reference
In-Depth Information
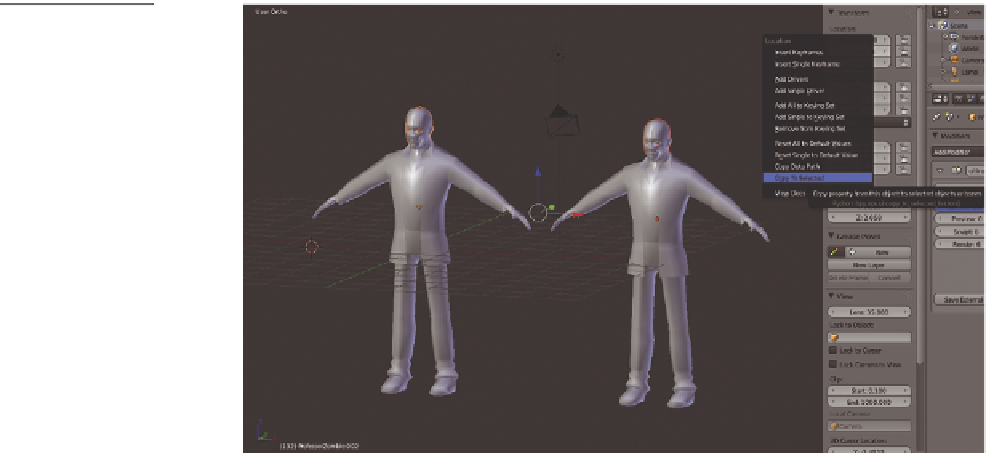
N key), scroll upward to find the Transform settings for the objects. RMB-click on
the X Location setting and select Copy To Selected from the menu that appears
(Figure 5.43).
Figure 5.43
Copying the
location from one
object to another
5. Make sure that both are selected, with the low-poly
model as the active model (the one with the brighter
orange outline). Make sure you have a second viewport.
Change this viewport into a UV/Image Editor window.
Go to the Image menu on the header and select New
Image. Use the menu that pops up to create a 2048 ×
2048-pixel image.
6. Select the Render panel of the Properties editor. At the
bottom is a panel called Bake; expand it. Click the box
that says Selected To Active so that Blender will bake
from the high-resolution model to the low-poly model.
From the Bake Mode pull-down list, select Normals
(Figure 5.44).
7. Press the Tab key to enter Edit mode. You want to see
your UVs as you bake the normals.
8. You may want to save your file here; baking can be an
expensive process when speaking in processing terms. Click the Bake button and
watch as Blender creates the normal map under your UVs.
Figure 5.44
Working with baking settings
for normals

Search WWH ::

Custom Search