Game Development Reference
In-Depth Information
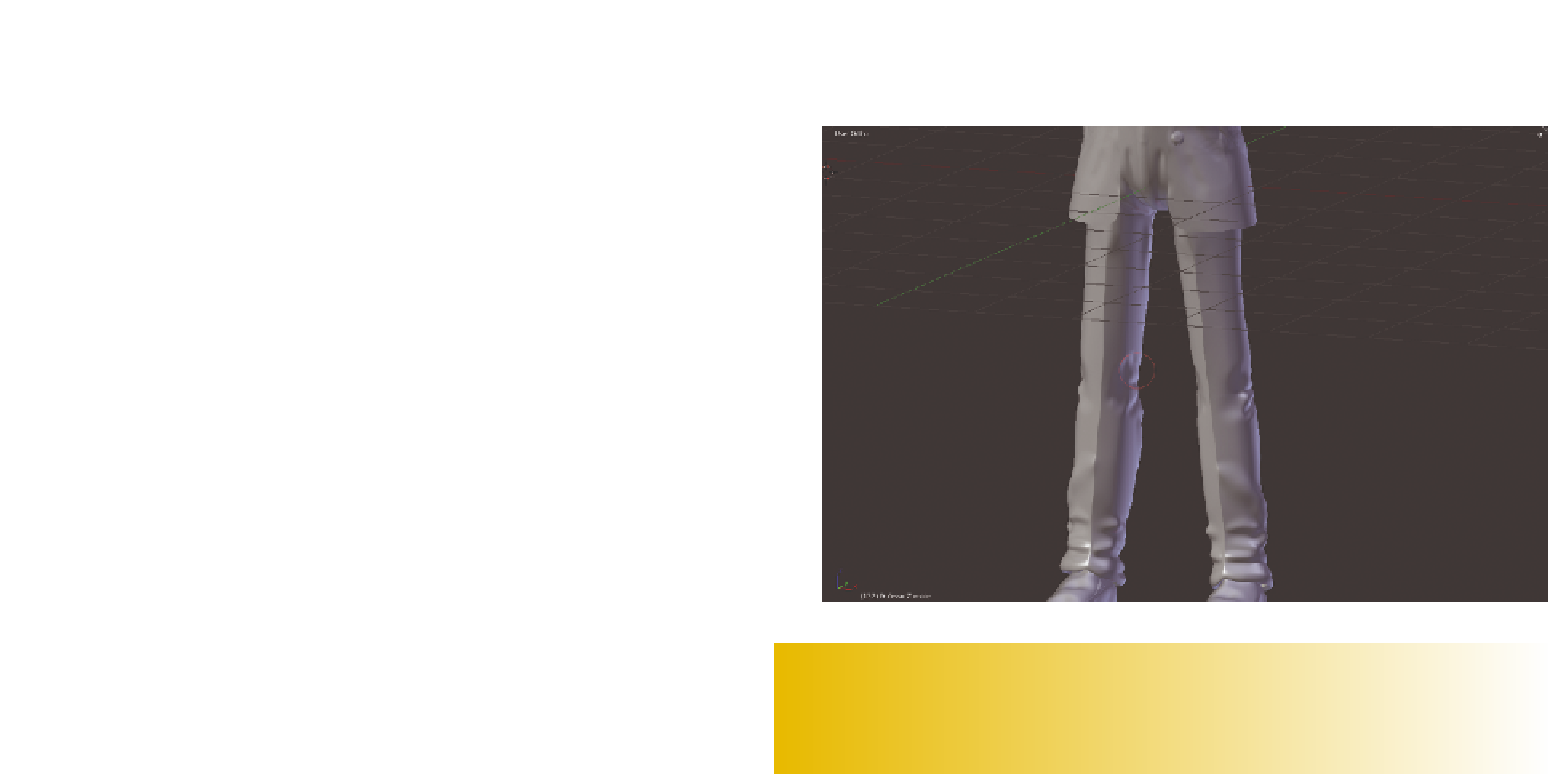
8. Compared to the jacket, pants are easy. Use the hard-edged Curve setting to cre-
ate the fold for a zipper near the groin. Use the Pinch brush to create the crease on
the front of the pant legs. Then, create wrinkles behind the knees and down on the
folds where the pants meet the shoes with the Crease and Draw brushes. You can
use a Draw brush with a very low strength setting to scuff up the shoes a bit. Use
Figure 5.39 as a guide.
9. Take another look at your zombie and see if there is anything else you want to add.
Try to go for a look of being slightly disheveled, since your zombie has presumably
been lurching around for a while.
Figure 5.39
Sculpted pants
Again, the zombie you are working on is yours, so feel free to be creative with adding details.
Try to tell something of a story with your sculpt. Perhaps the zombie has bites on other parts
of his body that turned him. Perhaps there are tears in his clothing. You may even try to cre-
ate bullet holes where unlucky survivors tried to kill him. Be creative.
10. Save your file. Refer to
C05_Zombie_Finished_Sculpting.blend
in the online materi-
als as a reference. It should be noted that the color map included in the materials for
Chapter 6, “Digital Painting Color Maps,” corresponds to this model.
Now that you've sculpted the high-polygon version of the zombie, you can apply your
sculpted details to the low-poly version of the model by baking the sculpts to a normal map.

Search WWH ::

Custom Search