Game Development Reference
In-Depth Information
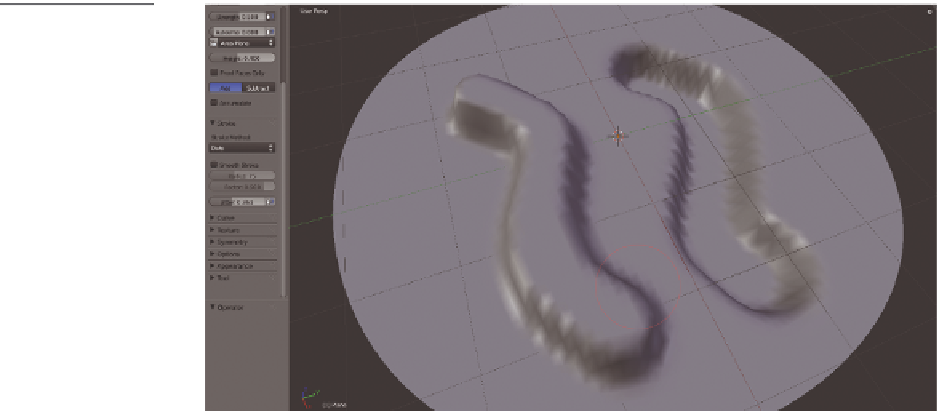
Dots
The Dots setting works a lot like the Space setting except for its lack of spacing
between points in the sculpt (Figure 5.24).
Figure 5.24
The Dots setting
Note that the Stroke panel has a Jitter setting, which causes sculpting strokes to
take on a scattered appearance. This setting can be useful for creating uneven surface
conditions.
Editing Sculpting Curves
Now it is time to change the shape of the sculpt itself. Below the stroke settings are the
Curve settings, as shown in Figure 5.25.
These settings are pretty simple to understand. The curve in the
window shows the outline of the sculpt you can create when using the
sculpting brushes. Blender offers a series of premade curves for creat-
ing various effects in sculpts.
The graph in the Curve panel is also editable. LMB-clicking on a
line in the graph adds a new point. Clicking the wrench icon lets you
change highlighted points in the curve into vector handles, which
enable you to make hard edges on your sculpts. Explore these settings
to learn how to create some very interesting effects.
Figure 5.25
The Curve panel
Adding Texture to Sculpts
Next you will explore the Texture panel. This is an incredibly important panel for your
work on the zombie. Let's add a texture for sculpting.
1. Go to the Texture panel of the Properties editor. You will see a button that looks like
a paintbrush. Click that button to set up a sculpting texture (Figure 5.26).

Search WWH ::

Custom Search