Game Development Reference
In-Depth Information
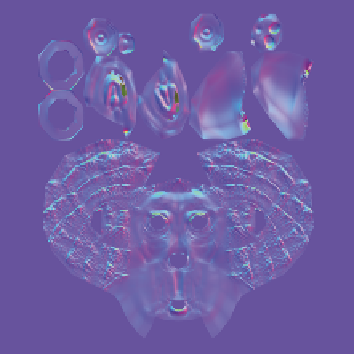
Figure 5.2
A normal map adds
sculpt details to
Blender's Suzanne
the Monkey
character.
Obviously, sculpting can take a toll on many 3D programs, which is why external pro-
grams such as ZBrush are required to handle the massive polygon counts. Blender has its
own internal sculpting mode and methodology for adding high-resolution details to its
3D models. Understanding how to use these tools is the key to sculpting in Blender.
Introducing the Multires Modifier
The first step in adding sculpted details to your Blender game characters is to add the
Multiresolution modifier, known simply as Multires. Multires subdivides a model so that
it can be sculpted with Blender's internal Sculpt mode. In many ways, this mode is similar
to Blender's Subdivision Surface modifier, which subdivides a model to provide cosmetic
smoothing. Multires, on the other hand, subdivides the model in such a way that the user
can interact with the subdivided geometry using the modifier's own settings and Sculpt
mode. Before getting into sculpting work, know that the Subsurf and Multires modifiers
should not be used together. If you are working with a Subsurf modifier, it is best to apply
it before getting into work that requires Multires.
Another precaution that can help with computer performance in Sculpt mode is to
turn on the VBOs (vertex buffer objects) option. This option can be found in the User
Preferences Editor under the System panel. Blender renders in OpenGL, which is why tool
panels can be shifted dynamically. Using VBOs can further enhance the speed at which
you navigate in Sculpt mode. Another option is the Fast Navigate setting in the Toolshelf
in Sculpt mode (accessed by pressing T). Selecting Fast Navigate will display a low-res
version of your sculpted model as you navigate the viewport, saving your computer
memory.

Search WWH ::

Custom Search