Game Development Reference
In-Depth Information
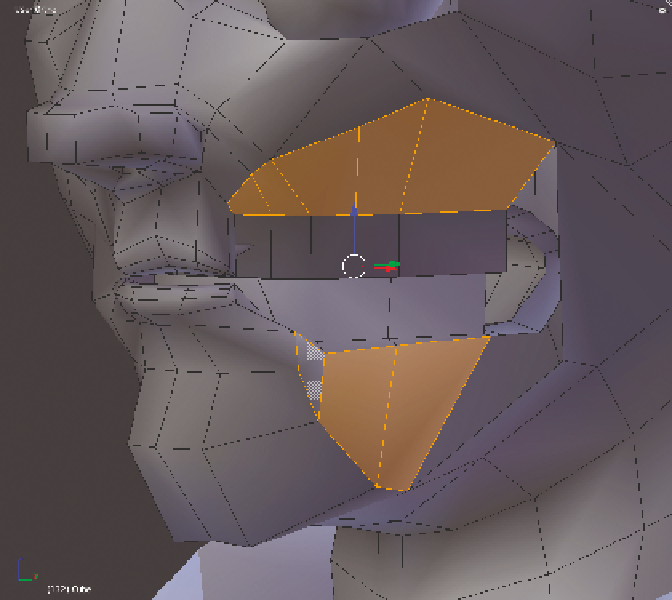
Figure 3.60
Filling in polygons
to create the flesh
around the jaws
6. For any areas where you may have to create triangles to fill in geometry, select one of
the edges and press W to go to the Specials menu. Select Subdivide and the edge will
have a new vertex in the center of it. This will also create triangles in the polygons
around this new vertex. Delete these new triangles as necessary and use your new
vertices to create quads.
7. Continue working with the geometry until you have closed up any gaps that will
show you the inside of the model. When you are finished you should have something
like Figure 3.61.
8. Move up to the eyes. After working with the mouth, this section will be much sim-
pler. Hide the eye objects. Take edges of the damaged area and extrude them inward
once or twice and shape the vertices to create the impression of a socket. You do
not need to finish the interior of this cavity since the eyeball will cover up this gap.
Remember that there is no sense in having polygons where nobody will see them.
9. Create quads where needed in the eye to cover up any stray gaps in the geometry. You
should have something that resembles Figure 3.62.
10. Exit edit mode and select both the body and head models. Press Ctrl+J to join the two
models into one object.
Search WWH ::

Custom Search