Game Development Reference
In-Depth Information
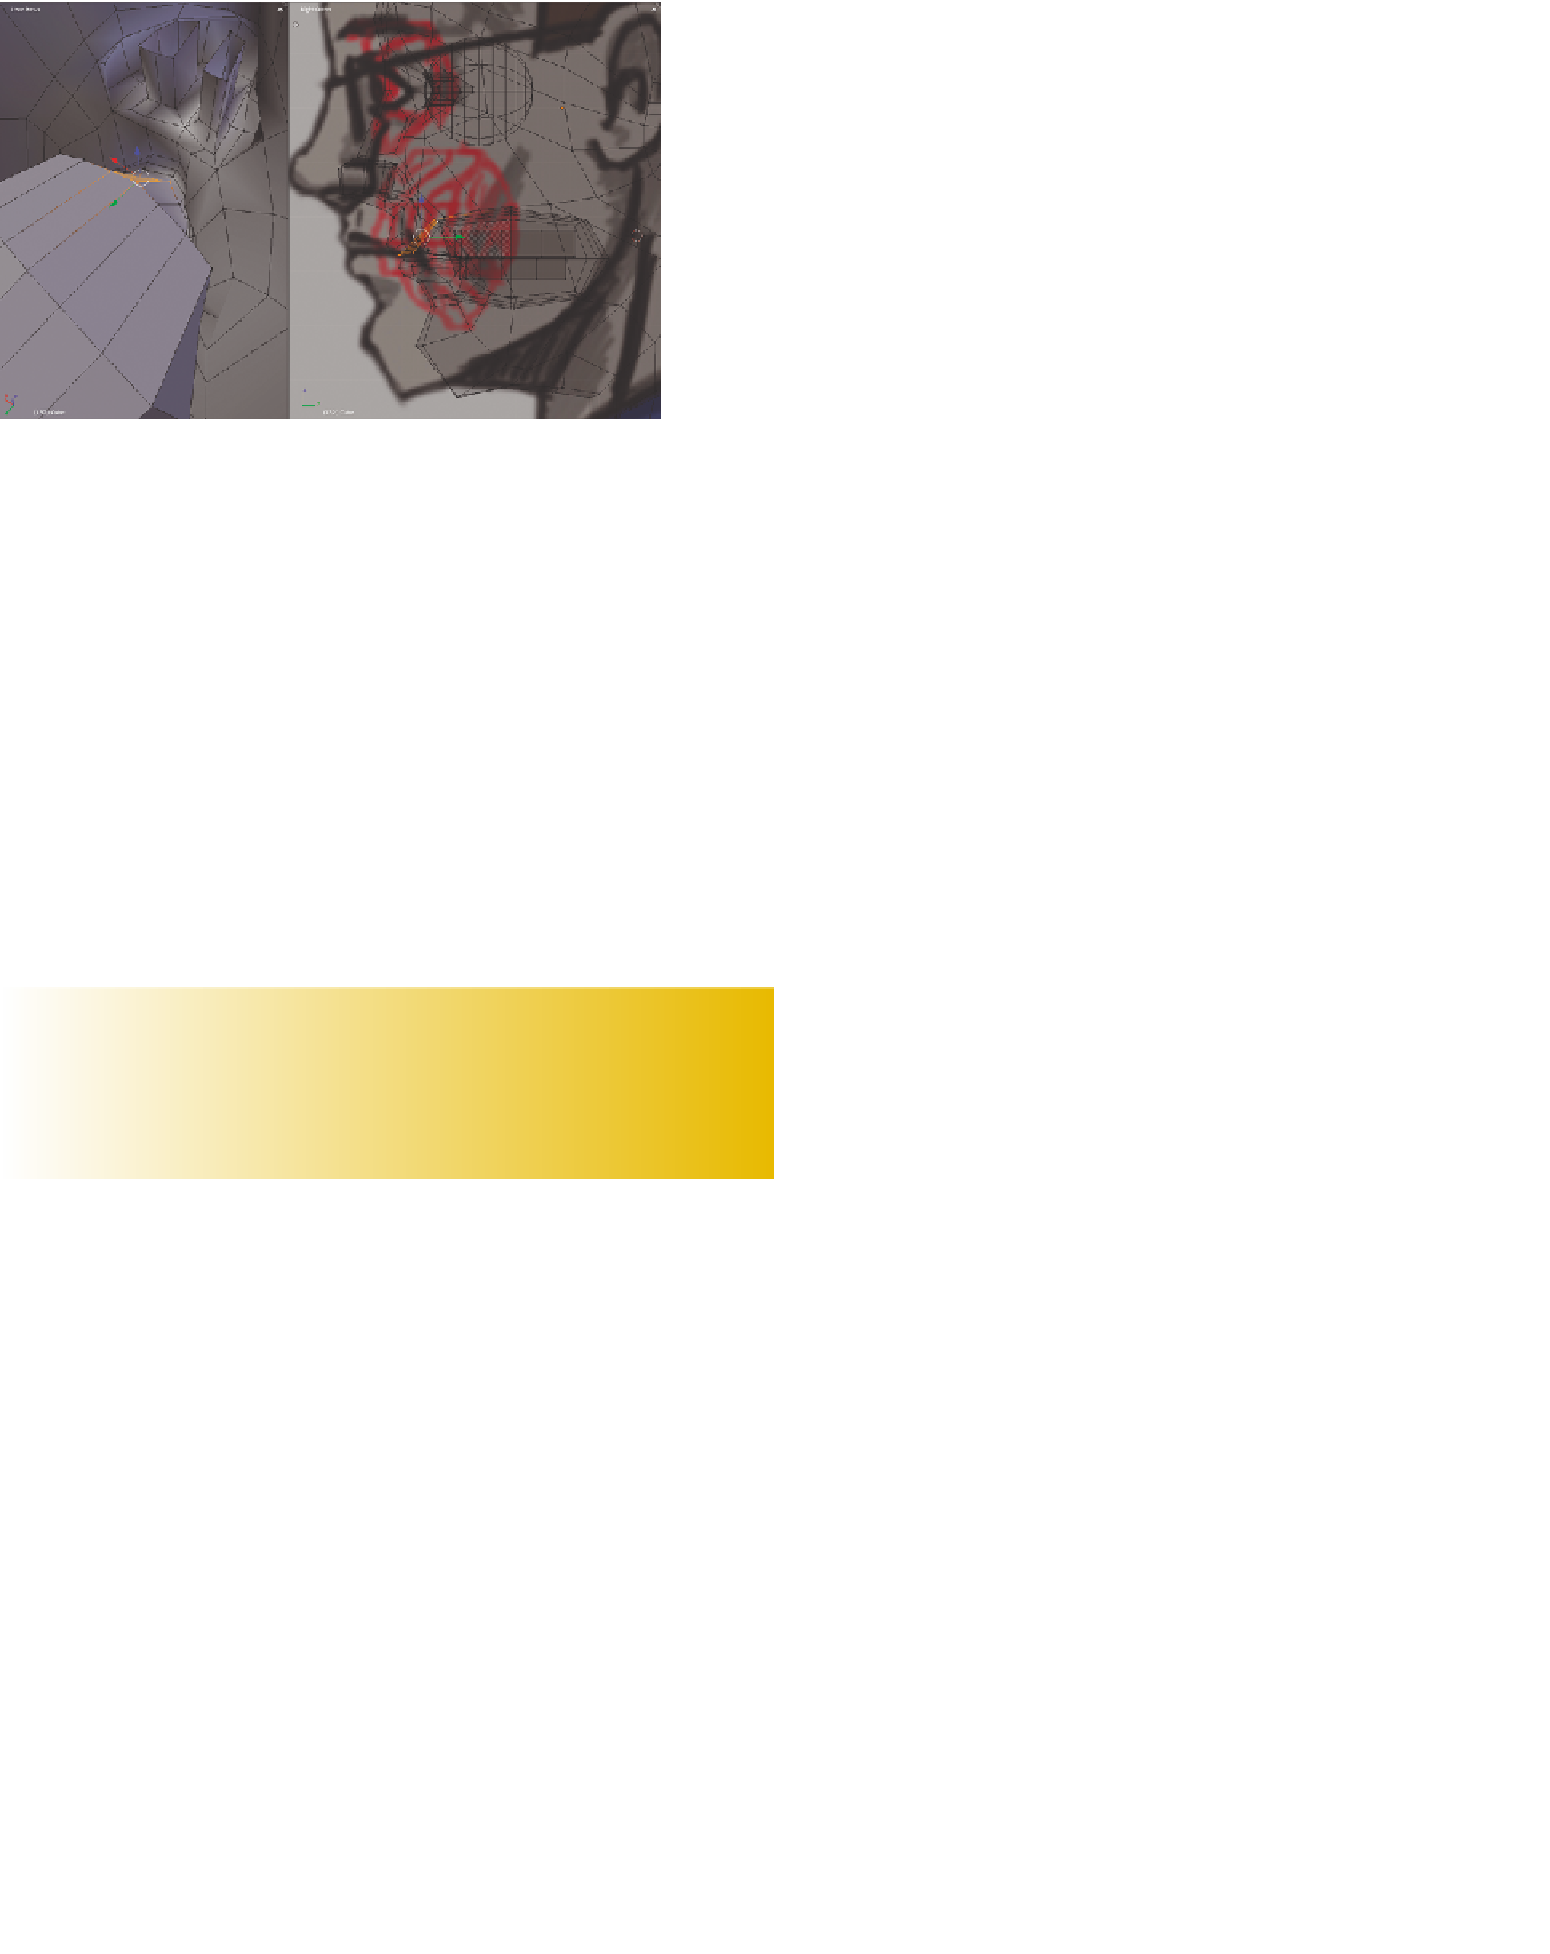
Figure 3.58
Connecting vertices
inside the head
Your zombie is looking pretty good. However, zombies are often pretty ugly, gory crea-
tures. In the next section of the chapter, you will add the finishing touch to your zombie
by tearing away some of the facial geometry you have just built and prepping it for sculpt-
ing zombie damage in Chapter 5, “Sculpting for Normal Maps.”
Carving Out Zombie Damage
In this section, you will add the final modeling touches that will put you on your way to
making a horrifying zombie: facial damage. Knowing how to adapt a model in this way
can be important for “dead replacement” or damage models. These versions of characters
and objects are scripted to appear when their host object takes significant damage. For
example, you may have a space marine whose armor chips and shatters as she is hit by
enemy lasers. The other reason for doing this is that it will provide a canvas from which
you can practice sculpting later on. Sculpting helps video game artists apply detail to low-
polygon models with displacement maps. As stated previously, this will come into play in
Chapter 5. For now, let's work on this zombie's face.
1. Continue with your model from the face modeling portion of the chapter or open
C03_Finished_Head.blend
from the online resources folder for Chapter 3.
You may want to save a separate version of this model from the facial damage version you
are about to create. By applying different textures to a single body model, you can cre-
ate different characters or enemies from the same file—something that will be hard with
eye-catching zombie damage. Reusing or repurposing assets in this way can save time and
energy during development. This is a modern version of the old “turn an enemy blue and it
will be different” design tactic found in many arcade and 8-bit games.
Search WWH ::

Custom Search