Graphics Programs Reference
In-Depth Information
Inset:
drag the sliders or type numbers to set the spacing between the
watermark and the horizontal and vertical edges.
5
Anchor:
determines the point from which the watermark is placed on the
photo. h e other controls will work relative to the anchor point, unless it's set to
the center.
Rotate:
click the buttons to rotate the watermark clockwise or counterclockwise
in 90 degree increments.
When you're done setting up your watermark, click the Save button at the
bottom right and give your watermark preset a name, or click Cancel to leave
the Watermark Editor without saving. To update an existing watermark with
the current settings, choose that option from the menu.
Applying multiple watermarks
You can use Lightroom's watermarking feature to apply multiple watermarks.
Simply do a series of progressive exports generating multiple tif i les. Apply
the i rst watermark during the export from the original. h en re-export that
new, derivative tif wi th a second watermark, etc. During each successive
export you can add another watermark. During the last export, save to your
i nal delivery format, such as jpg.
POST-PROCESSING
Lightroom can integrate its export operations with those of other sot ware
applications. When Lightroom is done with the export, the i les are handed of
to the other program(s) for further processing, ot en which themselves can also
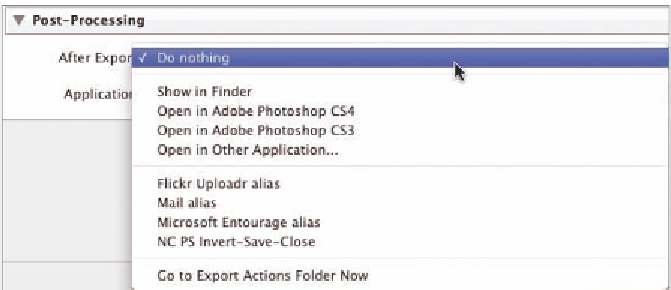
be automated, such as with Photoshop actions. Use the controls in the Post-
Processing panel of the Export screen (see Figure 5-18) to set options for this.
More about post-processing can be found in Chapter 9.
Figure 5-18


Search WWH ::

Custom Search