Graphics Reference
In-Depth Information
To change audio timing, follow these steps:
1.
From the Audio menu, select
Edit timing
, then choose
Project
.
You can also choose
Slide
from this menu to display the Edit
Audio window for the selected slide (see the previous section,
“Editing Audio Files”). The Edit Audio Timing window displays.
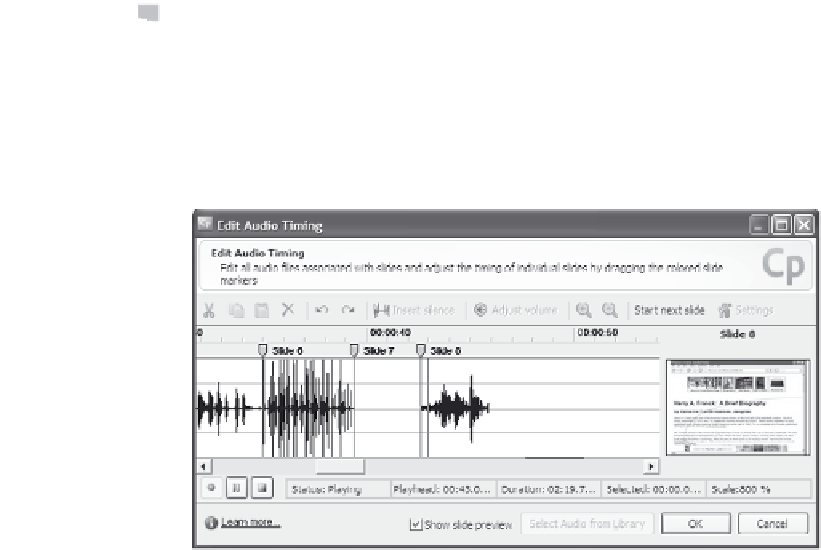
Figure 8-25. Display audio across all slides.
There is a timeline across the top of the window that indicates
how far into the movie each portion of the video is. Like other
timelines, there is also a playhead (shown in Figure 8-25 at about
42 seconds). This window also shows the slides across the top of
the window, just beneath the timeline, and can show a preview of
the current slide (where the playhead is) on the right side of the
window. The audio for each slide, if any, displays as a graphic
across the middle of the window. For example, in Figure 8-25, you
can see that there are audio files associated with slides 5, 6, and 8,
and that the audio for slide number 8 ends well before the slide
ends.
2.
Set the display of the audio file to one that is appropriate for your
movie by clicking the magnifying glass icons with the plus or
minus signs (
).
3.
Click the
Play
icon to play the audio file. Notice that as the audio
is playing, the Play icon changes into two vertical lines to become
a Pause icon. You can hit the Pause icon or the Stop icon at any
time.