Graphics Reference
In-Depth Information
Changing the Cursor Icon
For each slide, you can designate a different icon to be used as the cur-
sor. You can choose from the variety of cursor icons that come with
your Windows system, or you can use your own icon (as long as it is in
valid Windows cursor format). For example, on some slides you may
want to leave the standard image of a hand pointing to various objects;
on other slides you may want to use a timer or cross-hatch.
To change the cursor icon, follow these steps:
1.
Display the slide that contains the icon you want to change.
2.
Display the Mouse menu by doing any one of the following:
In the Storyboard view Slide Tasks pane, click
Mouse
.
In Edit view, right-click anywhere on the background of the
slide to display a pop-up menu, then choose
Mouse
.
Double-click on the cursor on the slide.
Double-click on the Mouse element in the timeline.
From the Slide menu, click
Mouse
.
3.
Choose either
Project Pointers
(for a display of all icons in the
cursor folder on your system) or
Current Theme Pointers
(for a
display of the icons that match your current Windows theme).
4.
Click the cursor icon you want to use for the current slide or
select
Browse
to navigate to the file containing the icon you want
to use.
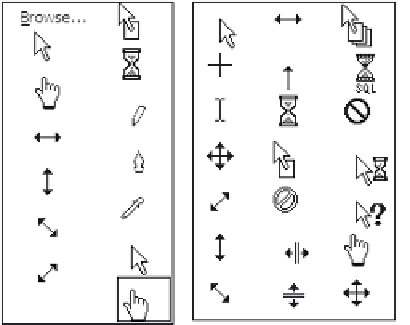
Figure 7-34. Choose a new icon for the cursor from either the
project pointers or current theme pointers.