Graphics Reference
In-Depth Information
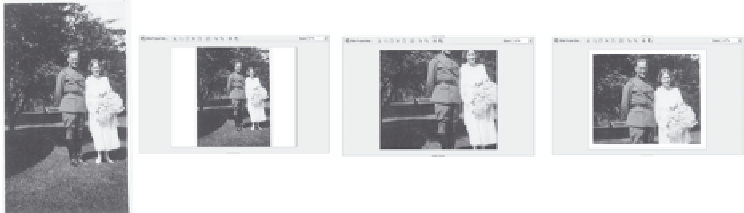
For example, to introduce a section of the movie about Harry Franck's
family, we may want to start with an image slide containing a photo
from his wedding in 1919. Figure 6-7 shows the original photo, then
the resulting slide using the Captivate crop function, the resulting
slide using the rescale function, and finally the slide as edited in the
graphics package to match the movie size.
Tip:
An image slide stores the image as the background of the
slide. You may want to consider creating a blank slide and importing
a graphic onto it. You'll get more image options that way.
Figure 6-7. Original photo and three image slides (cropped, resized, and edited in a graphics package).
To create an image slide, follow these steps:
1.
Open the project to which you want to add an image slide.
2.
Choose the location for the new slide within your project by
selecting the slide immediately before the one you want to add.
For example, if you've got the first slide open, the new image will
be inserted as slide number 2. You can move slides around later if
you need to.
3.
From the Insert menu, choose
Slide
and then
Image Slide
to
open a browser window that defaults to the last picture folder you
used.
4.
Browse to the correct folder, then select the image you want to
insert. If the image is the same size as the movie (or smaller),
you'll see the image as a slide (and you're done!). If the image is
larger than the movie size, the Import Image window displays.