Database Reference
In-Depth Information
Selecting Tables to be Synchronized
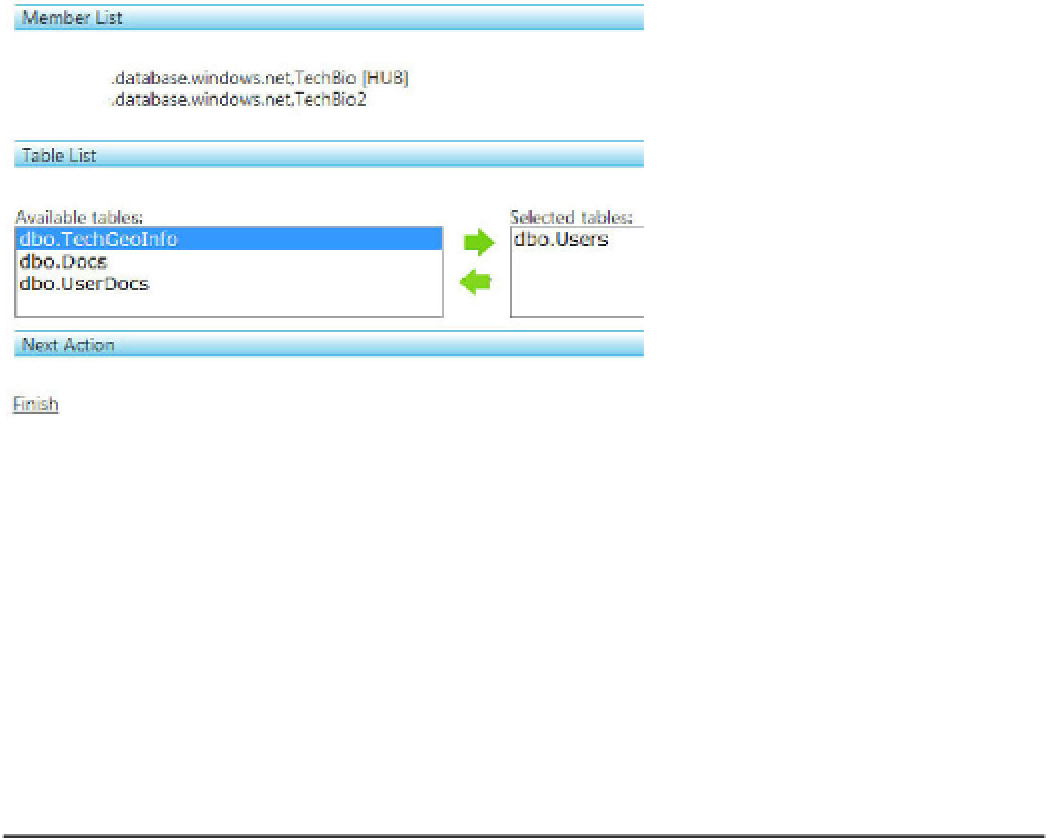
After you've selected your hub and member databases, click Next. You're shown a list of available tables
from the hub database. Select the tables that you want to synchronize with the selected member
databases, and click the right-pointing green arrow to move them to the “Selected tables” list. For this
example, select the Users table and move it to the “Selected tables” list, as shown in Figure 11-9. Then,
click the Finish link.
■
Note
The order in which you add the tables indicates the order in which changes are applied, thus affecting
how foreign key constraints are evaluated.
Figure 11-9.
Selected tables
Be aware that the SQL Azure Data Sync Service doesn't sync schema changes, except for the initial
synchronization. For example, if you add a column to or remove a column from a table, that information
isn't synchronized. The question then becomes, how do you sync schema changes? Right now, there is
no way to sync schema changes unless you reprovision the database for sync, which basically means
dropping the member database tables and re-creating them.
Congratulations—you've successfully created and configured your first SQL Azure data synch! You
should see a Sync Group Management window similar to that in Figure 11-10.
■
Note
You've configured the sync group, but the initial synchronization hasn't yet taken place. You see how to
initiate that first synchronization shortly, in the section “Manually Synchronizing.”