Game Development Reference
In-Depth Information
Resolution.
This works in combination with the total surface area of your
meshes in the scene to determine the final size of the generated lightmaps in
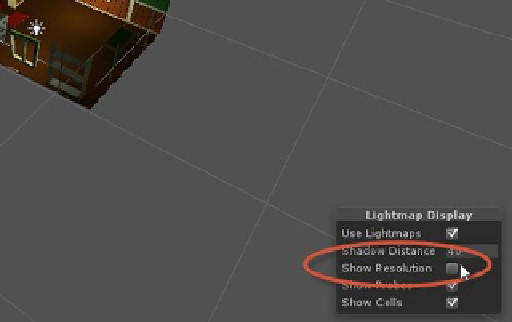
pixels. When the Lightmapping window is active, you'll see an accompanying
Lightmap Display dialog in the Scene viewport (see Figure
2-31
). By enabling
the Show Resolution check box
,
a checker-pattern texture map will be projected
over all static scene geometry, indicating how the pixels in the lightmap will be
distributed. Each box in the checker-pattern stands in for a single pixel in the
lightmap. In short, the “ideal” value for resolution should be the lowest possible
while still retaining the lighting quality suitable for your game and while making
best use of the texture space in the lightmap. Like most other values in the
Lightmapping window, a certain degree of tweaking and retesting is required.
For my CMOD level, a value of 25 looks good.
Figure 2-31.
Previewing lightmap resolution using the Lightmap Display dialog
Once you're happy with the settings you've specified, the lightmap textures can be produced by
pressing the Bake Scene button from the Lightmap Bake panel (see Figure
2-30
). You may have to
wait a while (the progress status is viewable in the lower-right corner of the Editor window). Once
generated, the Lightmapping window indicates how many lightmap textures were generated and
their size in pixels, which is based on the total mesh surface area in the scene and the Resolution
setting (see Figure
2-32
). The lightmaps themselves are added as texture assets in the Project panel
(see Figure
2-33
).