Game Development Reference
In-Depth Information
Tip
While level building, don't forget to use Vertex, Grid and Rotation snapping in combination with the
Transform tools (Translate, Rotate, and Scale). Vertex snapping lets you align meshes together, exactly at the
seams. To access Vertex Snapping, activate the Translate tool (W key) and then hold down the V key (Vertex
Snapping) to align two meshes together at the vertices. To access Grid Snapping, to move along the grid in
discrete increments, hold down the Ctrl (Cmd) key while translating objects. You can also rotate in discrete
increments too—just hold down Ctrl (Cmd) while rotating!
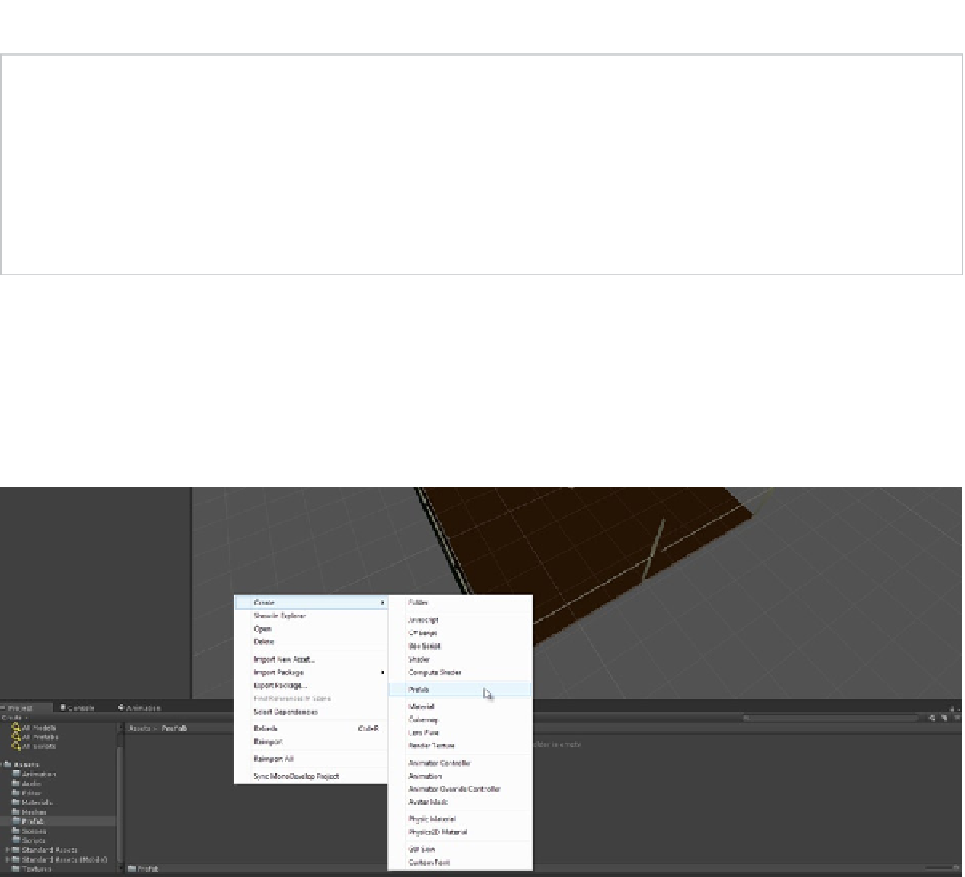
To make a new Prefab for the corner-section meshes, as shown in Figure
2-18
, right-click the mouse
inside the
Prefab
folder in the Project panel. From the context menu, select
Create
➤
Prefab
to
produce a new Prefab asset, which begins as an empty container. You can also create the same Prefab
object by choosing
Asset
➤
Create
➤
Prefab
from the application main menu (see Figure
2-19
). I've
named the Prefab
prefab_Corner_Section
.
Figure 2-19.
Generating a Prefab asset in preparing for mesh reuse. Prefabs are especially useful tools when creating modular
environments
By default, a Prefab is created as an empty container object, and has no association with any other
assets. To build this association, a parent-child relationship should first be established between
all meshes that you want to include in the Prefab. For the corner section, simply use the Hierarchy
panel to choose any mesh instance in the scene, and then parent all the
other
meshes to it as child
GameObjects (see Figure
2-20
).