Game Development Reference
In-Depth Information
Note
More details on texture properties can be found at the online Unity documentation at
Step 6: Building Sprites
Unity 4.3 introduced a range of features tailored for creating 2D games. These features primarily
include
Sprites
, the
Sprite Editor
, and the
Sprite Packer
. As mentioned, CMOD will make use
of some of these features for creating billboard sprites in the level. These sprites will represent
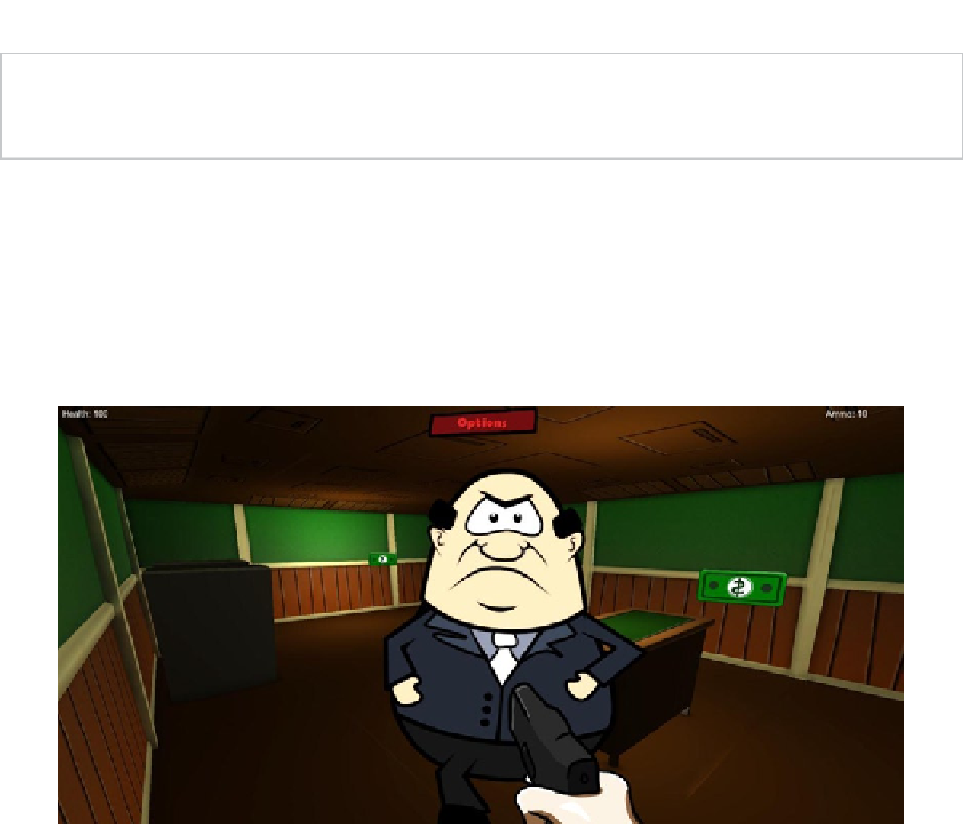
enemies, power-ups, weapons, and other GUI elements, as shown in Figure
2-12
.
Figure 2-12.
Sprites will be used to create enemies, power-ups, weapons, and more
To add Sprite instances to a scene, we'll need to generate Sprite assets. These are produced using
the Sprite Editor. In short, the Sprite Editor allows us to mark rectangular regions (UV rectangles)
inside an existing atlas texture to use as a sprite. Marking these regions manually with the mouse
can be a long and tedious process, but right now, there's no quicker method. In addition, to make
the sprites accurately, you'll probably need to work alongside your image editor application (such as
Photoshop or GIMP) to read and measure pixel coordinates and positions. Remember, I've already
created the sprites for you in the sample project, featured in the topic project files, in the
Chapter2
folder. The Sprite Editor can be accessed from the Texture Properties page by clicking the Sprite
Editor button (see Figure
2-13
).