Game Development Reference
In-Depth Information
Lines 9-15.
The pixel padding class specifies the amount of padding to be
added onto an anchor to offset the GUI onto the screen into its desired position.
Though the member is called
pixel padding
, the value is specified in relative
terms (using normalized values, between 0 and 1), as shown in Figure
8-2
. The
word
pixel
in the title emphasizes that, whatever relative values are used, the
values ultimately resolve to pixel values, depending on the screen resolution.
Lines 27 and 28.
Here, two member variables are added to indicate the
anchoring for the GUI control on both the horizontal and vertical axes.
Left
or
Right
, and
Top
and
Bottom
. Thus, to anchor this GUI object to the screen's
top-left,
HorzAlign
should be
Left
, and
VertAlign
should be
Top
.
Lines 45-60.
The
Update
function calculates the position of the control, based
on its anchoring and padding values, as well as the orthographic size of the GUI
camera, ensuring the object is positioned and scaled correctly on screen.
To put our newly coded GUI object into practice, let's begin work on creating the game's main menu.
Right now, we don't have all the code we need—after all, we'll need additional code to actually
render the menu on-screen using sprites. But, right now, we have some core relative-positioning
functionality to get us started. For the menu, create a new object in the scene, taking care to add it
to a GUI layer and to assign the GUICamera field to the GUICamera object in the scene. And then
add a GUIObject component to it. For CMOD, the menu graphic should be centered on-screen.
Therefore,
HorzAlign
should be
Left
,
VertAlign
should be
Top. Left Padding
should be
0.5
, and
Top Padding
should be
0.5
(see Figure
8-3
). In the next section, Figure
8-4
displays the complete
menu graphic.
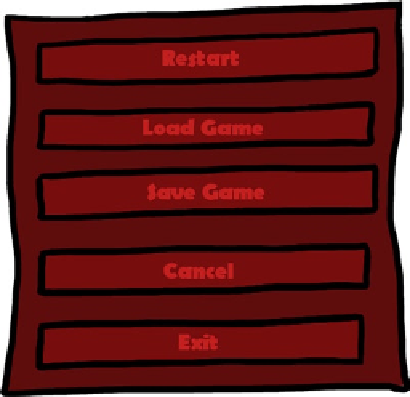
Figure 8-4.
The main menu background graphic (559×549 pixels), to be positioned at screen center (0.5, 0.5)