Game Development Reference
In-Depth Information
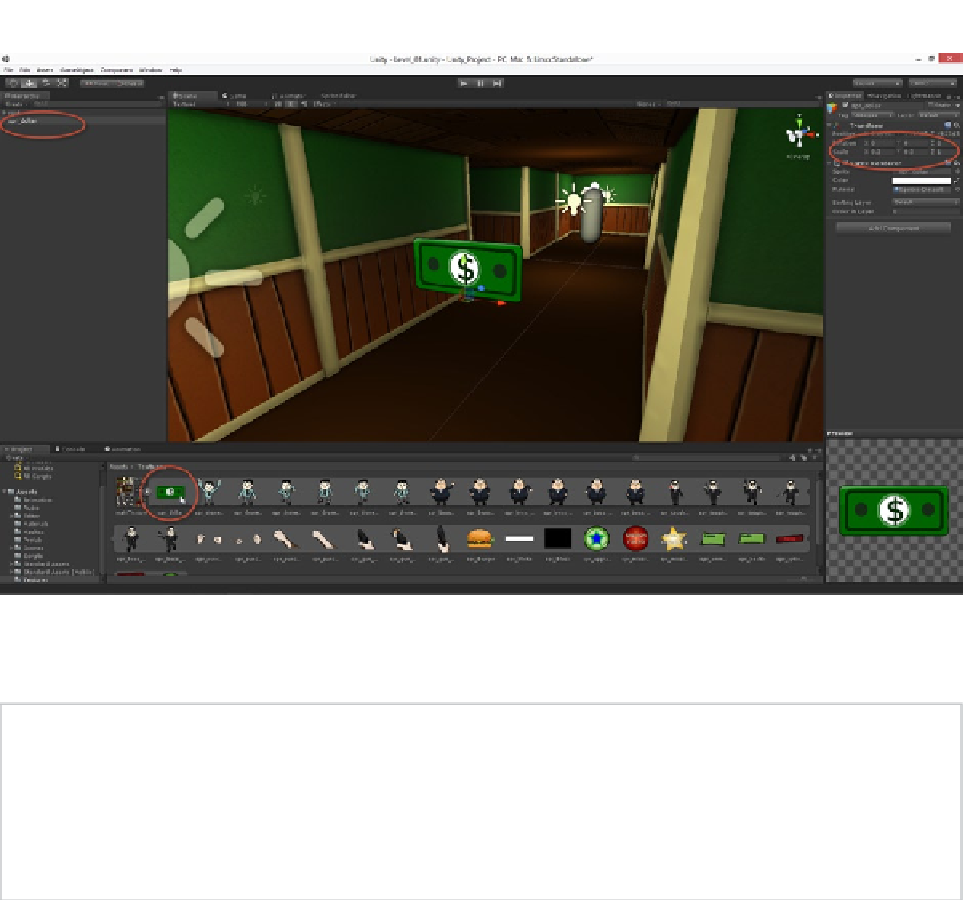
Figure 4-2.
Instantiating the cash sprite in the scene using the atlas texture. Scaling has been applied to better fit the sprite in
the scene
Note
Working with sprite objects from the atlas texture, such as the Cash Power-Up sprite, requires us to
use the Sprite Editor 2D feature, added in Unity 4.3. This tool was explored in Chapter 2, for creating sprite
objects. You can create the required sprites manually, but if you're working along with each chapter, the topic
companion files for this chapter feature a ready-made Unity project (
Chapter4/Unity/Project_Start
),
complete with all necessary sprites already configured for use.
Power-Ups and Billboards
If you add the Cash Power-Up sprite to the scene and then take a look at it in-game with a First
Person Controller, looking at the sprite from many possible angles, you'll notice a problem, as seen
in Figure
4-3
. Specifically, the Cash Power-Up looks like a cardboard cutout, completely flat. In fact,
it's even possible to walk around the side of the power-up, catching it at an angle where it's almost
lost from view entirely, because it has no thickness or depth. This is not a flaw or fault of the sprite
per se so much as it's a
consequence
of the sprite's 2D-ness. A sprite is supposed to be 2D. This
is usually not a problem for 2D games that have fixed orthographic cameras always focused on
one side or aspect of the sprite, but when you mix 2D and 3D together, as in CMOD, the flatness of
sprites can become troublesome in this way.