Graphics Reference
In-Depth Information
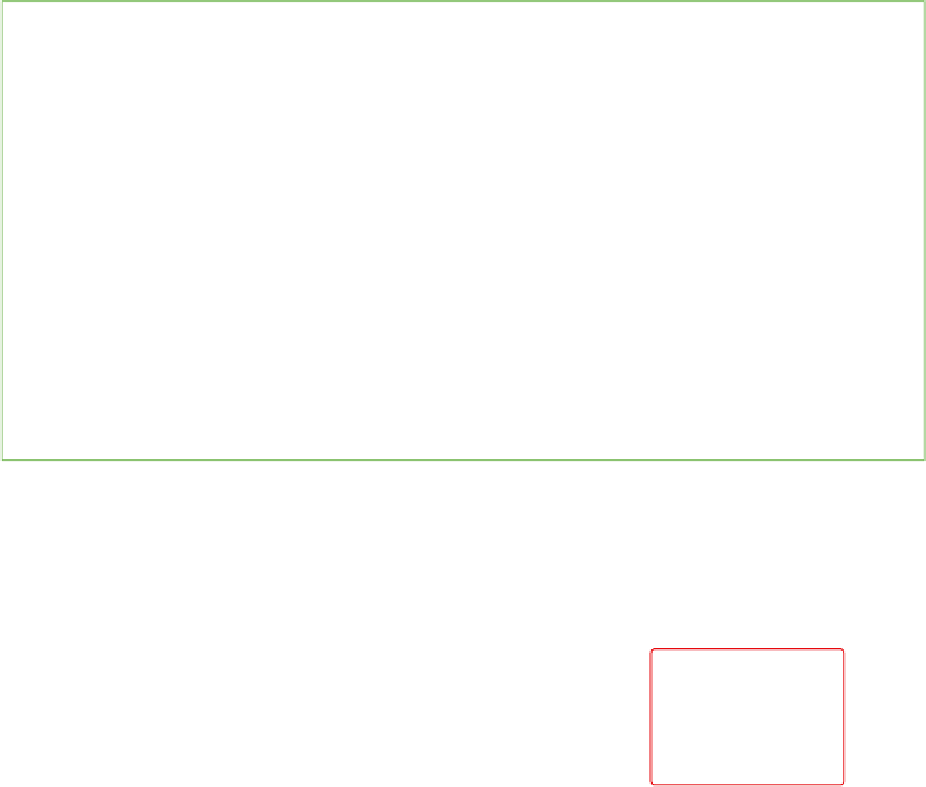
Before you can use this window for painting, you need to create a new
image. Do this by selecting
New
from the
Image
menu on the win-
dow header. The dialog that pops up gives you options for naming the
new image and choosing a size. For now, set the
Width
to
800
and the
Height
to
600
. Using the color picker between the
Width
and
Alpha
controls, select a pure white (RGB 0,0,0) for the background.
New Image
Name:Untitled
Width: 800
Height: 600
OK
Alpha: 1.000
UV Test Grid
32 bit Float
Figure 4.31
The
New Image
dialog
Aspect Ratio
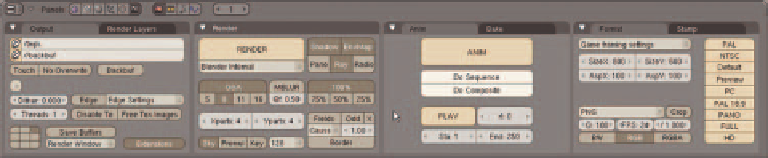
It is a good idea to choose your fi nished format and size before you begin to create your story-
boards so that the framing you work out will translate properly into 3D. There are some small
technical considerations, but the real question is, “How do you want your fi nished animation to
look, and where will it most likely be viewed?”
The main choices are fi lm, high-defi nition TV, and standard video.
While you almost certainly won't be rendering your animation at fi lm resolution (2048 1108),
the aspect ratio (1.85:1) can be attractive if you want your project to look like a movie.
If your target is to show on widescreen TVs or DVDs, then a widescreen HD size (1920
1080;
1280
720; or 852
480) and aspect ratio (16:9) will make sense.
Finally, standard video resolution (648 486 for NTSC in the United States or 720 486 PAL
in Europe) and aspect ratio (4:3) is still hanging around and fi ts well for full screen playback
on many existing and new computer monitors and televisions. Please note that these screen
aspect ratios are not the same as the pixel aspect ratio, and should not be entered into the AspX
and AspY fi elds on the Render Buttons Format panel.
When you click
OK
, the
UV/Image Editor
is fi lled with your new blank image. Press the
1
key on the
number pad to have Blender zoom the image to 100%. Before painting, choose
Save
from the
Image
menu
on the header, then assign the image a fi lename. The image is saved in the format specifi ed in the
Format
panel of the
Scene
buttons (
F10)
.
Figure 4.32
The
Format
panel of the
Scene
buttons
To enable the paint tools for this particular image, either click the pencil icon on the window header or
choose
Texture Painting
from the
Image
menu (Figure 4.33).

Search WWH ::

Custom Search