Graphics Reference
In-Depth Information
15.60
15.61
15.62
15.63
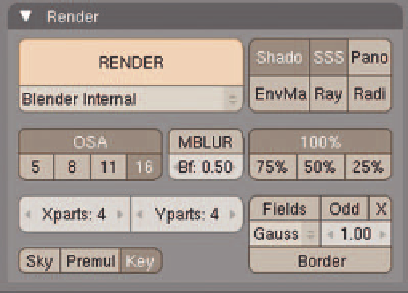
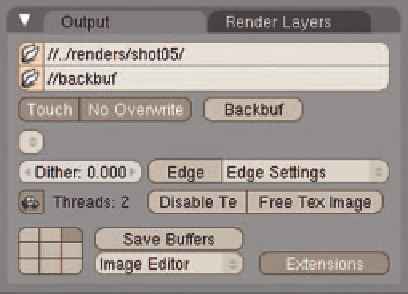
Figures 15.60-15.63
The Render settings panels
●
If your shot requires multiscene rendering as discussed in the previous composite example, you will
want to turn on the
Save Buffers
option so that each scene's render results and composite tree will be
spooled to disk instead of hogging up your system's RAM.
With the render settings prepared, make sure that all asset paths are relative by choosing
File
>
External
Data
Make All Paths Relative
from the main header menu. Then run a link check on your fi le by
choosing
File
>
Report Missing Files
.
Now . . . the moment of truth. Use the
Render
button to, well, you know . . .
Of course, you've rendered test frames from your shots hundreds of times over the course of your work on
this project, but this time it's almost for real. Check the resulting composite image for artifacts: areas of blown
out or unexpected colors from a bad composite connection, bodies passing through clothes, people passing
through the set, etc.
You should also note any simulations that appear in the shot. Move the frame counter to the middle of the
simulation and render a test frame to make sure that things are properly baked. If the entire frame passes a
visual inspection at this point, you are almost ready to go.
>
External Data
>


Search WWH ::

Custom Search