Graphics Reference
In-Depth Information
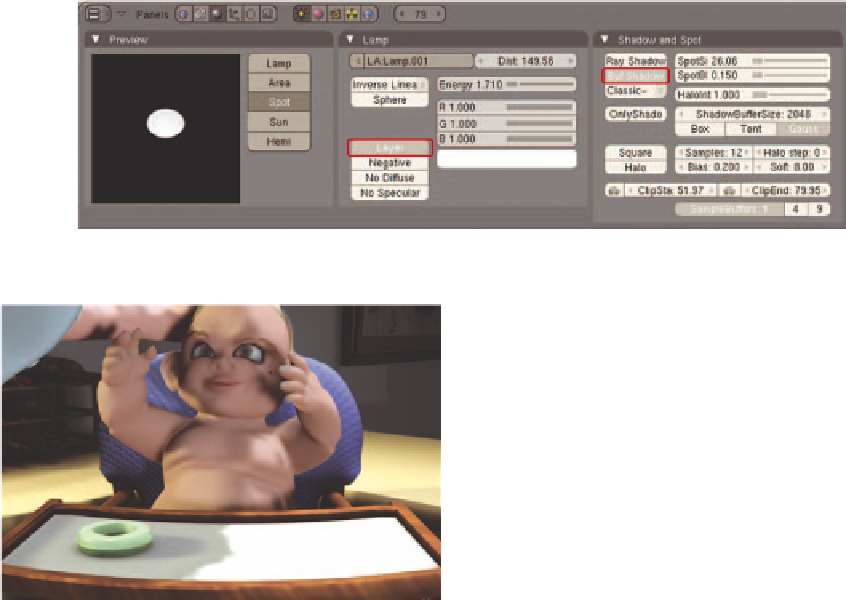
Figure 15.6
The lamp settings
ridiculous. So I decided to try lighting the characters
and set with only a key and fi ll lamp, which cut ren-
der times dramatically, and combining that result with
a nice “ambiance” render of the set in the composi-
tor. The result is found in Figure 15.7. We'll take a
closer look at compositing that in the next section.
For consistency, these additional lamps can be named
(
mom_key, mom_fi ll, beast_key, etc.
) and Appended to
each shot fi le as you prepare for rendering. While
individual shots may require variations to the posi-
tioning, intensity, color, and shadow properties of
these lamps, this will give you a good starting point
and save a lot of time. Of course, you should try to
maintain some level of lighting consistency between your shots. Your shots will all be edited together at the
end of the project, and it would be jarring to have different camera angles present drastically different lighting
schemes, even if those schemes had been individually optimized. You must keep in mind that you are work-
ing on a larger project.
Figure 15.7
Three key lamps light the characters and set,
added with a set “beauty” render
Compositing for Better, Faster Renders
You are about to become a “shot detective.” You will be looking for any way that you can save render time by
separating the animated from the static, the foreground from the background, dealing with them individually,
then putting them back together.
Faster Renders
When your characters do not actually touch the set within the frame as in shot 13.2, this is easy. Figure 15.8
shows the characters from the shot, and Figure 15.9 shows the set render. Because the light is fairly ambient
in the kitchen, and the strong directional light from the window would cast shadows away from part of the
set that is in the frame, there is no need for the characters to cast shadows into the visible portion of the set.
Search WWH ::

Custom Search