Graphics Reference
In-Depth Information
the sound to the left and right of the stereo space. Setting
Pan
to
1.0 plays the sound entirely in the left
channel, with only silence in the right; 1.0 puts the entire sound in the right channel; 0.0, the default, is bal-
anced. Although this value cannot be animated, it can add another level of realism to your fi nal project. For
example, if a character is speaking from off screen to the left, you could adjust the
Pan
value for the audio
strip of his dialog to something like
0.75 so it seems that the sound is coming almost entirely from the left.
NOTE
If you plan to use the
Pan
value, you should be sure to do so consistently. Having sound care-
fully placed into the stereo space for an entire animation, but forgetting to do so in one shot,
would be a bit jarring for the viewer.
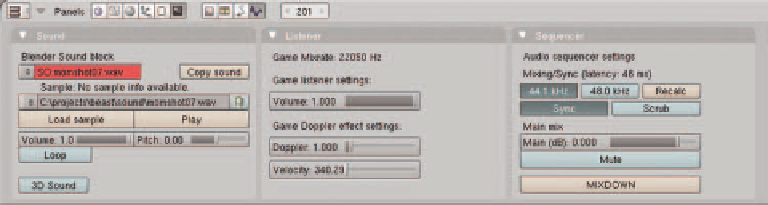
When you are satisfi ed with the way your audio strips sound, you need to export them. This is done with
the
Mixdown
button that is found in the
Sequencer
panel of the
Sound Block
buttons (Figure 12.11).
Pressing
Mixdown
creates a single, uncompressed audio fi le and saves it in whatever directory you have
designated for animations in the
Output
panel of the
Render
buttons. The fi lename begins with whatever
name is specifi ed in the same
Output
panel and includes the frame range as well. For example, if no fi le-
name is specifi ed in the panel and the animation frame range is from 125 to 840, the fi lename would simply
be 0125_840.wav. Locate this fi le and move it into a shot-specifi c subfolder of your sound asset folder.
Figure 12.11
Mixdown
Because the mixed audio fi le uses the same animation frame range as the fi nal renders for the shots, it makes
it easy to match them with the corresponding shot fi le during fi nal editing.
Summary
Lip syncing in Blender is accomplished by adding audio strips of dialog to the Sequence Editor in each of
your shot fi les. Initial keys are created, followed by sets of off-on-off keys for each of the sounds you hear as


Search WWH ::

Custom Search