Graphics Reference
In-Depth Information
Let's look at shot 2 of
The Beast
. Figure
11.19 shows a fi nal production frame, with
the Beast, two toys, and a carpet and fl oor
as the background. The action in the shot
calls for the Beast to slide toward the toys
on the fl oor, then to scoop up the rattle.
When beginning this shot, I knew that
it would proceed directly from shot 1,
so instead of going all the way back to
the master template scene fi le, I created a
duplicate of the already animated shot01.
blend. This produced a better starting
point than the raw scene template fi le
because the only character in shot 2,
Figure 11.19
The Beast grabbing the rattle
the Beast, was already positioned near where he
needed to be. Of course, I had to bring in the cor-
rect camera for shot 2 from the scene template fi le
(
Shift-F1-Append
), and change the animation
frame range.
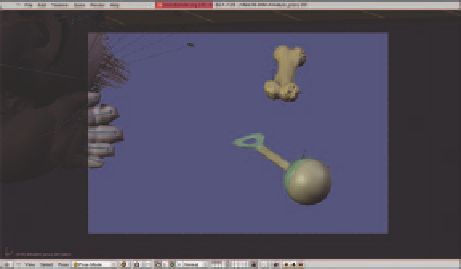
As you can see in Figure 11.20, the framing for this
shot does not work exactly with the endpoint of
the animation from the previous shot. No problem
though, as you can see in Figure 11.21. The posi-
tioning has been changed so that everything comes
together just like the storyboard. When shot 1 and
shot 2 are cut together in fi nal editing, these minor
differences in positioning will not be noticed, but
the shots will have more compositional strength.
This is one of the best reasons to break your shots
up into different fi les. If we were trying to do the
Beast's drop, fall, and grab all in one long piece of
animation with several cameras capturing it in one
fi le, we would not be able to optimize the framing
of each shot nearly so easily.
Figure 11.20
The endpoint of animation from shot 1
An initial pose is set several frames before the
beginning of the animation start frame. Automatic
keyframing has been enabled. Figure 11.21 shows
this starting point.
Figure 11.21
The endpoint adjusted for optimum framing


Search WWH ::

Custom Search