Graphics Reference
In-Depth Information
The good news is that when you have the face broken into zones, the same set of vertex groups will be used
on all of the master expression shapes.
Splitting the expressions themselves is easy in comparison.
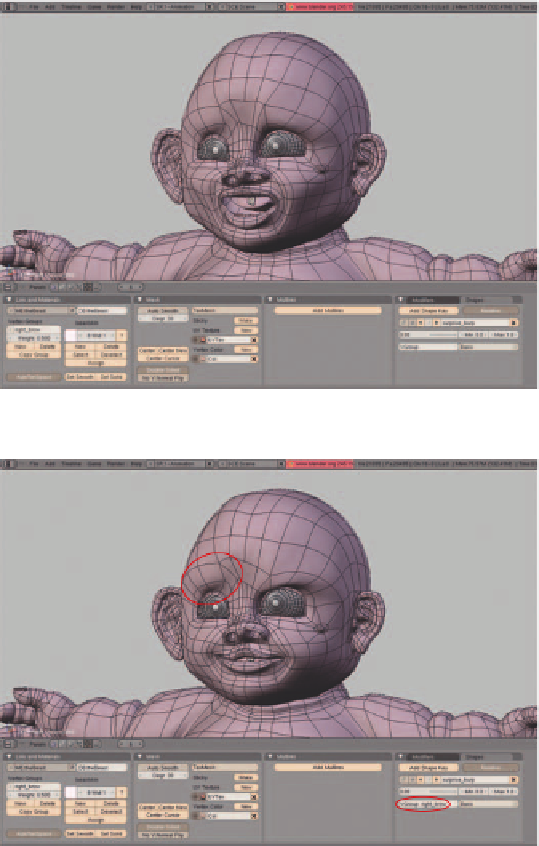
In Object mode, bring up the character's overall expression on the
Shapes
panel. The 3D view shows the
new shape (Figure 10.17). Enter the name of one of the zoning vertex groups into the
Vgroup
fi eld. The
3D view now shows the deformation affecting only the area within the selected vertex group (Figure 10.18).
Finally, press the
Add Shape Key
button. A new shape is created that is identical to the current state of the
Figure 10.17
A full expression
Figure 10.18
The expression masked with a vertex group

Search WWH ::

Custom Search