Graphics Reference
In-Depth Information
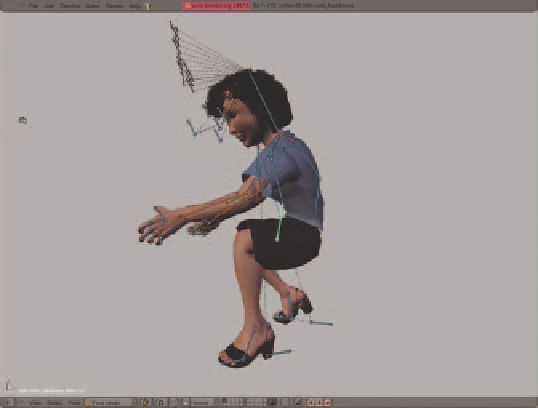
A trip to the cage that is used as the
mother's Mesh Deform modifi er, followed
by Weight Paint mode and recalculating
both the sternum and new abdominal
bone's heat-based weights (
W
key) gives
a much more pleasing result. Notice the
increased depth of the abdomen in Figure
9.53 that results from the addition of the
stretchy bone.
If you want increased structural integrity,
you could add even more stretchy bones
to simulate the oblique muscles, back
muscles, etc. In fact, before the addition
of the Mesh Deform modifi er, both the
mother and the Beast's deformations were
entirely rigged with stretchy bones just
like this one! Techniques like the one just shown still apply, but with the advent of Mesh Deform, their effec-
tiveness is drastically increased.
Figure 9.53
The problem fi xed
This example also shows the value of separating your controls from your deformers. Adding a bone and
changing the deformation weights didn't result in surprises—only a better outcome. If we had needed to
change the controller bone to change the deformation, it could have affected portions of the armature that
were already keyframed.
A Checklist for Preparing Rigged Characters for Life as a Library
Before you hit
Save
and close your character's master fi le for the last time (Oh, who are we kidding? You'll
be back in here many times over the course of the rest of the animation. Many, many times.), there are some
things to confi rm that will make your life easier when animation begins. It's worth checking each of these
items for every character in your project before linking them into a single production fi le:
●
All meshes that are part of a character have rotations of 0 and scales of 1. If not, use
Ctrl-A
to apply
them. You should have done this long ago (you were warned!), and applying errant rotations and scal-
ing now might cause unpredictable problems, resulting in your having to rebind/skin your model to the
deformers, move items that may have “jumped,” e t c.
●
Your control armature has rotations and translations of 0 and scales of 1. Same thing here as the previous
item, although this one can be even worse to remedy if you've ignored the copious warnings so far.
●
Your bones are organized consistently, with bones that will not be used for controls sent to hidden bone
layers. It can be helpful to use the same bone layers across all of your characters so that main controls are
on layer 1, fi ngers and toes are on layer 2, hidden helpers on layer 16, etc. This will make it easier to keep
track of things throughout your project.
Search WWH ::

Custom Search