Graphics Reference
In-Depth Information
your way around both rigging and skinning if you want to successfully integrate such a complex piece of
technology into your work.
A complete rig consists of three parts: controls, deformers, and helpers. Of these three, only the controls will
be visible when you begin to animate.
Control Structures
The ideal control structure for a character
is one whose tools are obvious, easy to
use, and that produce intuitive results.
Depending on your personal preference
and the needs of your project, your anima-
tion controls might be anything from plain
old armature bones (like my own rig in
Figure 9.1), to fi nely crafted mesh object
stand-ins that help you to remember what
each control can accomplish at a glance
(“Maloyo,” Figure 9.2). During animation,
the controls are what you will be selecting,
manipulating, and keyframing. Effi ciency is
paramount because you will be searching
for the smallest amount of effective con-
trols that allow you to pose the character
to the level of detail you need.
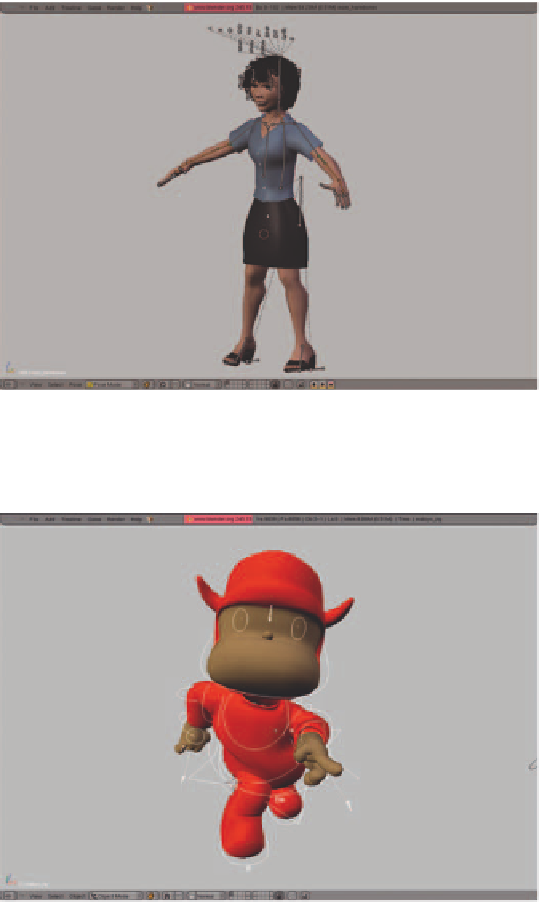
Figure 9.1
The control structure for the mom. It's bare bones because that's
the way I like it
When animating with Blender, all of
a character's controls should consist of
bones in a single armature. This is because
Blender's Action Editor, where character
animation is generally done, will only show
animation information for one object at a
time. If the controls for your character are
spread across several objects or armatures,
you will not be able to perform some very
necessary tasks (selection, alignment, scal-
ing) on them as a group. Blender's arma-
ture is the only type of compound object
that allows several subobjects (bones) to
be animated at once, making it the only
option for characters that require more
than a single control. Also, when using
Figure 9.2
The control structure for Maloyo, a nice experimental rig by
Claudio Andaur
Search WWH ::

Custom Search