Graphics Reference
In-Depth Information
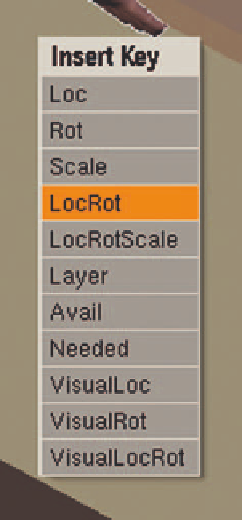
Press the
I
key and choose
LocRot
from the pop-up menu as shown in
Figure 7.26. This sets a key for the character's location and rotation on the
current frame. Before you proceed to other storyboards, camera angles, and
character positions, you need to make an adjustment to the way that Blender
interpolates keyframes. If you were to proceed through your story reel set-
ting positions and keys for your placeholder characters, they would slide from
key to key, producing an ugly animation. At this stage, we are just interested
in matching the static shots of the storyboards, so it would be benefi cial to
have the characters just snap into position at the beginning of each different
storyboard.
With a character selected, locate the
Object Ipo
in an
Ipo window
, as
in Figure 7.27. Using the
A
key, select all of the Ipo curves in the window.
Then, from the
Curve
menu on the window header, select
Interpolation
Mode
and choose
Constant
. This option can also be chosen by simply
pressing the
T
key in the Ipo window's workspace and selecting
Constant
from the pop-up menu.
In case you are not familiar with animation curves, the Ipo window is a visual
representation of the changing values of an object's attributes, including (but
not limited to) location, rotation, and scale. Each curved line in the win-
dow tracks a different attribute and is color coded to match its description
Figure 7.26
The Insert Keyframe
pop-up menu
Figure 7.27
Setting Interpolation to Constant

Search WWH ::

Custom Search