Graphics Reference
In-Depth Information
When you have a discrepancy between the two, you need to ask yourself if the difference will cause a mate-
rial change in the staging or action that needs to take place in the shot. If not, adjust the camera to compose
that shot as well as you can and move on. If the difference really will affect the way the shot plays out, you
need to consider if it is, in fact, the right camera angle to use. It is possible that you may need to rethink the
action in the shot. If you do, you may have to go back to the storyboards and rework them a bit, armed with
your greater knowledge of the physical aspects of the scene.
NOTE
Even though the chapter on storyboarding is behind you, that does not mean that the sto-
ryboards, or any other part of production that has been worked on up to this point, is really
fi nished. Many phases of animation production are iterative, meaning that what you do at a
later stage may cause you to go back and rework something you thought you had set in stone
before. Don't be afraid to do this. It's perfectly normal.
In addition to adding and naming a camera, there is one more organizational tool that will help you during
the production. If you have a
Timeline
window showing, you can add a
Marker
at the current frame with
the
M
key. Timeline markers are just visual placeholders in the timeline that can be named and help you to
identify different sections of an animation. With the mouse over a Timeline window, press the
M
key. A little
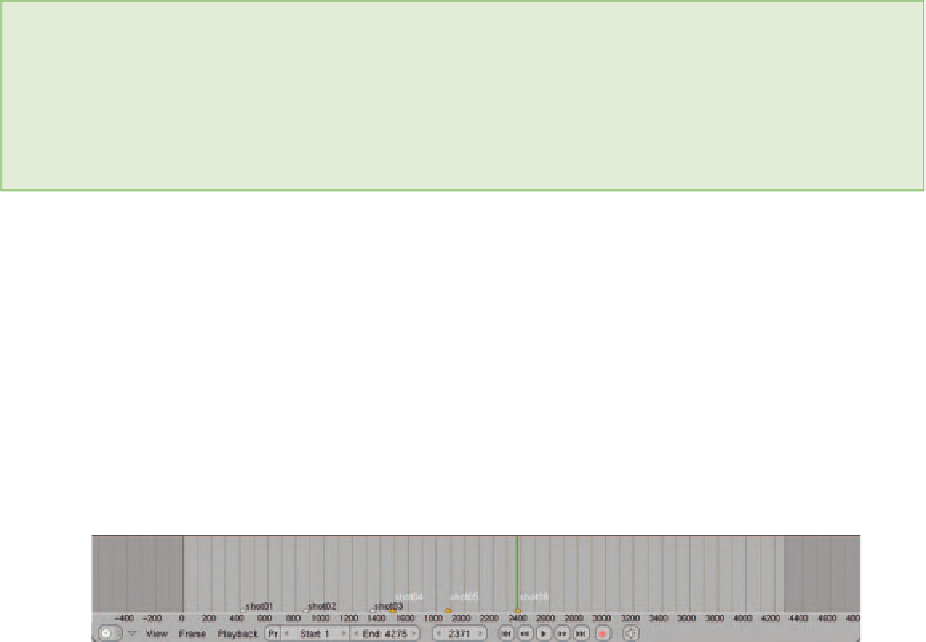
yellow triangle appears at the bottom of the timeline on the current frame, as in Figure 7.22. Press
Ctrl-M
to
bring up a pop-up menu that will let you name the marker. Call it whatever you called the camera, which in
this case is “shot01”. The name displays in the Timeline windows, as well as in other timeline-based windows
like the Ipo editor and Action editor.
Figure 7.22
A named marker in the Timeline window
Placing Your Characters
With a camera in place, you can move your characters into frame. Of course, without the ability to pose
them, you won't be able to match your storyboards exactly, but you will at least be able to tell if the gen-
eral positioning will work. Select and transform your characters until they work with the framing presented
in your storyboards. Because you will potentially be changing these with each different camera angle, you
should set rotation and location keyframes for the characters.
Search WWH ::

Custom Search