Graphics Reference
In-Depth Information
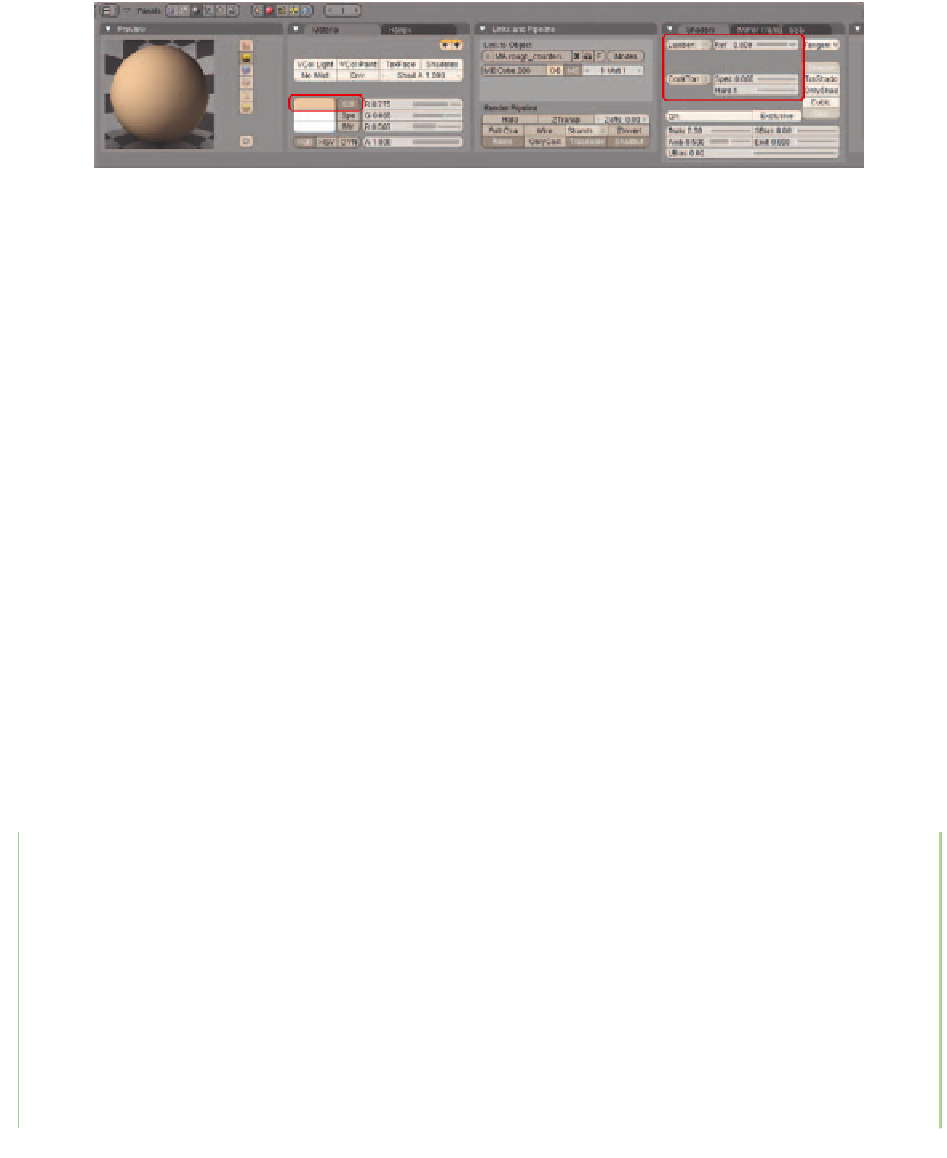
Figure 7.6
A basic material for coloring the set in the OpenGL 3D view
Figure 7.7
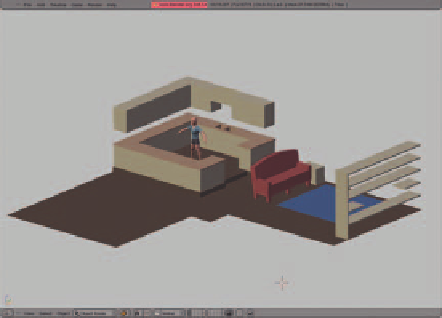
The Beast's
rough set, colorized
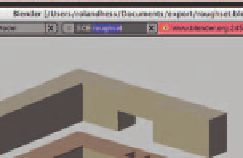
Figure 7.8
Naming the scene for later use
The only thing that you should do after the rough set is fi nished is to name the scene something appropriate
such as “roughset” with the
Scenes
drop-down menu on the main header as in Figure 7.8. Then save it as
“roughset.blend” in your sets folder.
If you have several sets, then your scene and fi le names should refl ect that with proper descriptions. Your goal
is to be able to link these rough sets into your working fi les as entire scenes, and use them as sets in the Scene
buttons, as shown in Chapter 6.
Why Use a Different File for Each Camera Angle?
It may seem like needless complication to create a new BLEND fi le for each camera angle in
your animation. During the course of the production, though, you will see that it grants you sig-
nifi cantly more freedom in both animation and direction. Consider the following problems you
can run into when working with a single, monolithic BLEND fi le for your animation.
●
Composition: When switching between two camera angles, the framing is not exactly what
you want. The obvious solution is to tweak the positioning of the characters for each angle.
When edited together, such a shift will not be noticeable to the viewer but will enhance
the composition of both shots. With a single fi le, you have to perform keyframing sleight
of hand to make the characters jump into their positions for each shot, probably causing

Search WWH ::

Custom Search