Graphics Reference
In-Depth Information
In Blender, Groups are simply groups of objects that have
been assigned a unique name. You add objects to a Group by
selecting them in the 3D view and pressing
Ctrl-G.
Doing
so brings up a pop-up menu asking if you want to create a
new group for the objects or add them to an existing group, if
there are any. We'll look at exactly how to do this in a moment.
Groups are handy for a number of things, most of which deal
with object management. Materials can restrict their lighting to
lamps from certain groups. Rendering, force fi elds, and particle
systems can also make use of Groups to restrict their effects.
The reason that the phone has been added to a Group (called,
incidentally, “phone”), is that Groups are library assets them-
selves, which means they can be linked into other fi les, and that
Groups can be used with Blender's dupligroup function. A dup-
ligroup is the ability for a Blender object to act as a stand-
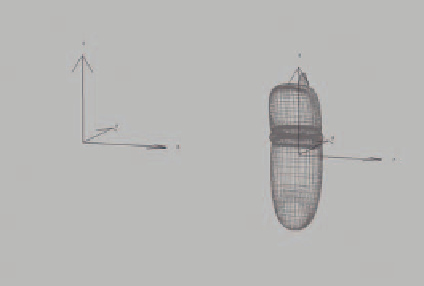
in for an entire group. Figure 6.20 shows two Empties.
The one on the left is a traditional Empty. The one on
the right is an Empty that has been enabled to act as a
dupligroup and has been set to use the “phone” group.
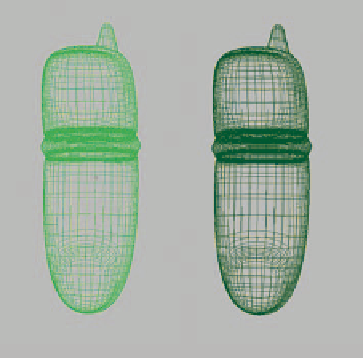
Figure 6.19
A wireframe view of the phone.blend fi le
Here's how to prepare the objects in your library fi les
for linking as a group:
●
Select all objects that will be a part of the prop in
the original library fi le.
●
Create a new group for these objects with
Ctrl-G
,
Add to New Group
(Figure 6.21).
●
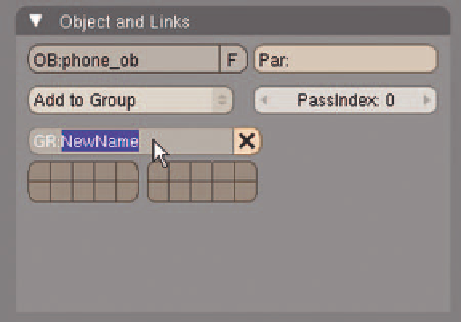
Give the group a descriptive name in the
Object
and Links
panel of the
Object buttons
so it is
easy to identify in a crowded scene (Figure 6.22).
●
Save the library BLEND fi le.
Figure 6.20
An Empty set to use dupligroups
Figure 6.21
The Group pop-up dialog
Figure 6.22
Assign a name in the “GR” fi eld of the panel

Search WWH ::

Custom Search