Graphics Reference
In-Depth Information
To import footage from a tape-based camera, connect the camcorder to your Mac with a FireWire cable and put
the camcorder into VTR or Play mode. Bring up the Camera Import window by employing one of the methods
discussed earlier and select your camcorder from the list.
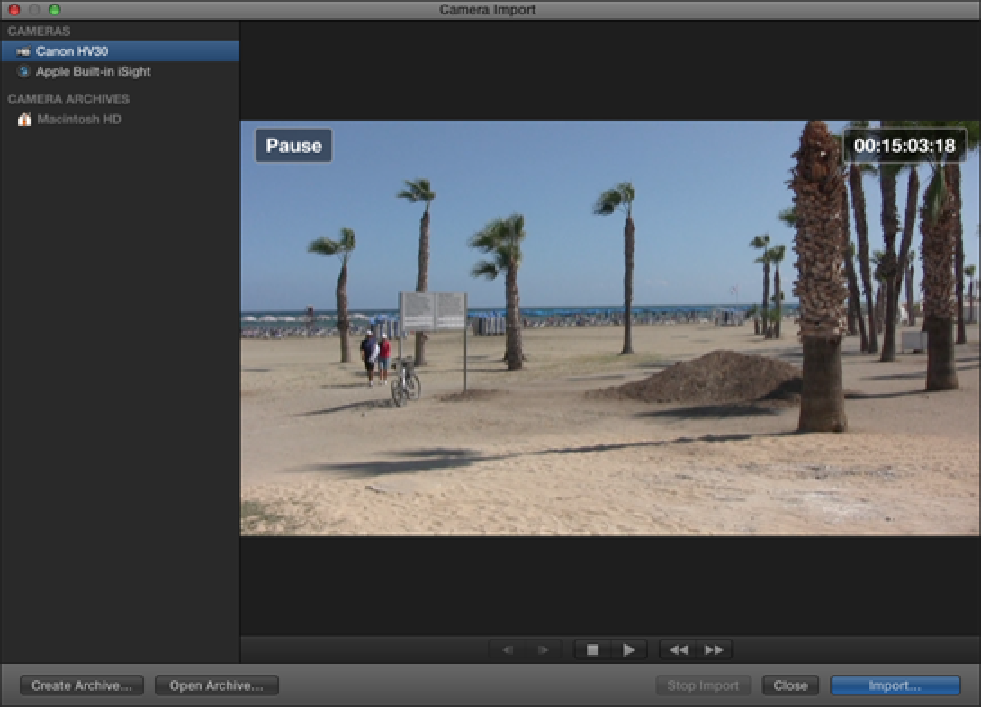
Figure 3.12 shows the Camera Import window with a Canon HV30 camcorder selected and the video to be cap-
tured displayed in the Viewer. You can use the J, L, and K keys or the viewer's playback controls to play, fast-
forward, and rewind through the tape. Search through the tape and stop at the beginning of the footage that you
want to import. Clicking Import brings up the Import Settings window. Choose the settings that you require, and
click Import.
Final Cut Pro captures the camcorder's real-time playback into the Event specified in the Import Settings win-
dow. After you've captured the footage, you can stop the import process by clicking Stop Import or by pressing
the Esc key on the keyboard. Close the Camera Import window and click the Event to see the captured footage.
Final Cut Pro splits the media into clips based on when the camera was stopped during filming. You can now
use these clips in your edit. (Final Cut Pro will automatically name the files according to the date and time they
were captured.)
Figure 3.12
Importing from a tape-based camera.
Another way to import tape-based media is by creating a camera archive from tape and then importing the
archived files into Final Cut Pro. Archiving digitizes your captured footage into individual clips, allowing you
to pick and choose shots just like a file-based camera. The advantage of this method is that, once an archive is