Graphics Reference
In-Depth Information
Final Cut Pro requires at least one Event to be present in the Event Library and automatically creates one for
you when you launch the software for the first time. You won't be able to delete this Event until you've created
a second one to take its place. Events are identified by their star symbol icon in the Event Library. When a new
Event is created, it displays the name
New Event
followed by the creation date. You can highlight and rename
an Event at any time by clicking it twice.
Let's create a new Event for the Bump in the Night sequence that you're going to work on. If you have more
than one hard drive, first select the drive where you want to store the new Event by clicking its icon in the Event
Library list.
To create a new Event, select a drive in the Event Library and choose File
⇒
New Event, select a drive in the
Event Library and press Option+N, or Control-click in the Event Library and select New Event.
A new Event appears in the Event Library, highlighted and ready for renaming. Type
Pranks
and press Return.
Any Events that you create are added to the
Final Cut Events
folder on your hard drive. If you switch
over to the
Final Cut Events
folder in the Finder, you should see a new folder named
Pranks
inside.
This is where Final Cut Pro stores the various transcoded media, render files, and analysis files for the
Pranks
Event once you start to import files and work on the edit. For the moment, there should be only a single data-
base file named
CurrentVersion
.
If you need to make any changes to an Event, such as moving, copying, deleting, or merging two Events togeth-
er, it's important that you do this from within Final Cut Pro rather than in the Finder. Let's look at how these ac-
tions are performed inside the Event Library.
To move an Event to a different hard drive:
1.
Select the Event that you want to move in the Event Library.
2.
Choose File
⇒
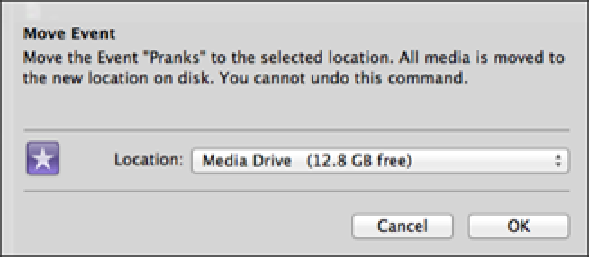
Move Event. This brings up the Move Event window (see Figure 3.3) where you can
choose a new location.
3.
Choose a drive from the pop-up menu and click OK.
Empty Events cannot be moved. An Event needs to hold at least one file before it can be moved to another loca-
tion.
To copy an Event to another drive, drag the Event's icon onto the new drive's icon in the Event Library or select
the Event and press +D.
Figure 3.3
Moving an Event to a different drive.