Graphics Reference
In-Depth Information
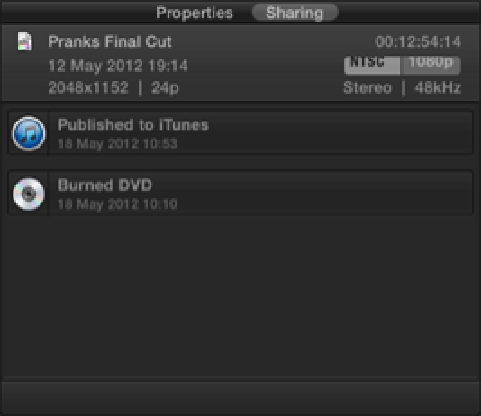
Figure 16.3
Sharing in the Inspector.
Sharing Movies
Final Cut Pro gives you the ability to share your movies in many ways in just a few easy steps. You can share
your movie with other applications, burn the movies to disc, or even publish your movie to the web directly
from your Project's Timeline. By choosing one of the Share options from the menu, Final Cut Pro applies the
correct settings and handles any transcoding necessary to produce your chosen result. Once it's finished creating
the movie, Final Cut Pro goes ahead and delivers it to the required destination, such as sending the movie to
iTunes or publishing it to the website of your choice. Let's look at some of the most common sharing options
that you're likely to use.
Sharing to the Media Browser and Apple devices
If you use any of Apple's iLife or iWork suite of applications, such as GarageBand, Keynote, or iPhoto, you can
make your movie available inside the Media Browser of these applications by choosing Share
⇒
Media Browser.
You also can prepare your movie for playback on an iPhone, iPad, and Apple TV by choosing Share
⇒
Apple
Devices.
Let's walk through how to share to an Apple device, because the same settings and procedure applies to sharing
to the Media Browser as well.
1.
Select the Project you want to share in the Project Library or have it open in the Timeline and choose
Share
⇒
Apple Devices. A dialog box opens and displays thumbnail images of various Apple devices for you
to choose from. Clicking a thumbnail displays an image of the device below with your movie presented in-
side. You can skim through the movie in the usual way by running your cursor over the image. The file's
size and other compatible devices are shown next to the image.
2.
Selecting the iTunes check box sends the movie to iTunes after it has finished encoding. Deselecting this
check box changes the Share button to a Next button, allowing you to navigate to a location on your com-
puter to store your file.