Graphics Reference
In-Depth Information
Fixing color balance issues
Final Cut Pro provides two simple ways to automatically color-balance your clips. The first method requires the
clip to be analyzed by Final Cut Pro before being added to the Timeline. This analysis examines a shot's color
values, with a view to improving contrast and removing any overall color casts, while still retaining detail in the
image. As you saw in Chapter 3, Final Cut Pro can perform this analysis during import when you have Analyze
for Balance Color checked in the Import Preferences. The same analysis can be performed on clips in the Event
Browser after clips have been imported. To do this, select a clip in the Event Browser and choose Modify
⇒
Ana-
lyze and Fix. Select the Analyze for Balance Color check box and click OK.
When clips are analyzed in the Event Browser, Final Cut Pro examines the entire clip and doesn't apply the col-
or balance until the clip has been enabled in the Inspector. To enable the color balance, select the clip in the
Event Browser or Timeline, open the Inspector (press +4), and select the Inspector's Video tab. Under Color,
you'll find the Balance setting followed by its status (either Analyzed or Not Analyzed). If the clip has been
analyzed, you can apply the color balance by clicking the Balance check box and turning it blue.
The second method doesn't require the clip to be analyzed before it's added to the Timeline. Select the clip in
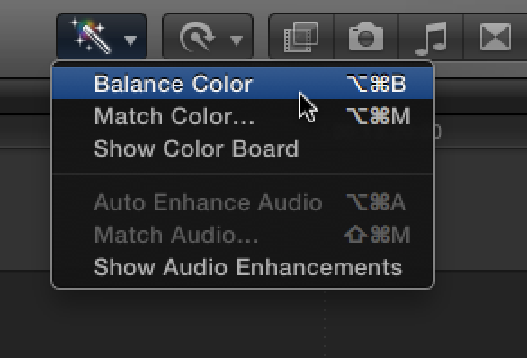
the Timeline and choose Balance Color from the Toolbar's Enhancements menu (see Figure 15.1) or press Op-
tion+ +B. When using this method, Final Cut Pro examines the frame on which the playhead is currently posi-
tioned and then automatically applies the color balance, saving you a visit to the Inspector. A color balance can
be turned on or off at any time with the Balance check box in the Inspector.
Figure 15.1
The Toolbar's Enhancements menu.
Color matching between shots
Scenes are often shot over a number of days under varying lighting conditions, which can result in differences
in color and exposure between shots when they're eventually assembled. This can break the illusion that the ac-
tion on-screen is occurring at the same time and place. Final Cut Pro's Match Color feature can provide an easy
fix for this and works similarly to the Match Audio feature we looked at in Chapter 8.
To match the color between two shots, select the clip that you want to adjust in the Timeline and choose Match
Color from the Toolbar's Enhancements menu or press Option+ +M. (You also can activate this function in
the Inspector's Video pane by clicking the Choose button next to Match Color.) This brings up a two-window
display in the Viewer with the chosen clip on the right side. Skim over clips in the Event Browser or Timeline to
find a frame that has the color that you want to match. As you do so, the cursor displays a camera icon and