Graphics Reference
In-Depth Information
1.
Select the project in the Project Library and choose File
⇒
Project Properties or press +J. This opens the
Project Properties pane in the Inspector.
2.
Click the wrench icon at the bottom of the window to open the Project Properties dialog box and choose
Surround from the drop-down menu under the Audio and Render Properties section.
3.
Click OK to apply the change. Final Cut Pro's audio meters will now display six channels instead of two.
The same audio rules apply for working in Surround as they do with Stereo, only you now have six audio levels
to keep an eye on. These are for the front left/right speakers, a center speaker, rear left/right speakers, and a
low-frequency subwoofer. An audio clip in the Timeline can have its sound panned so that it favors any of these
speakers. The Surround Panner provides a visual representation of a sound's placement in the Surround Sound
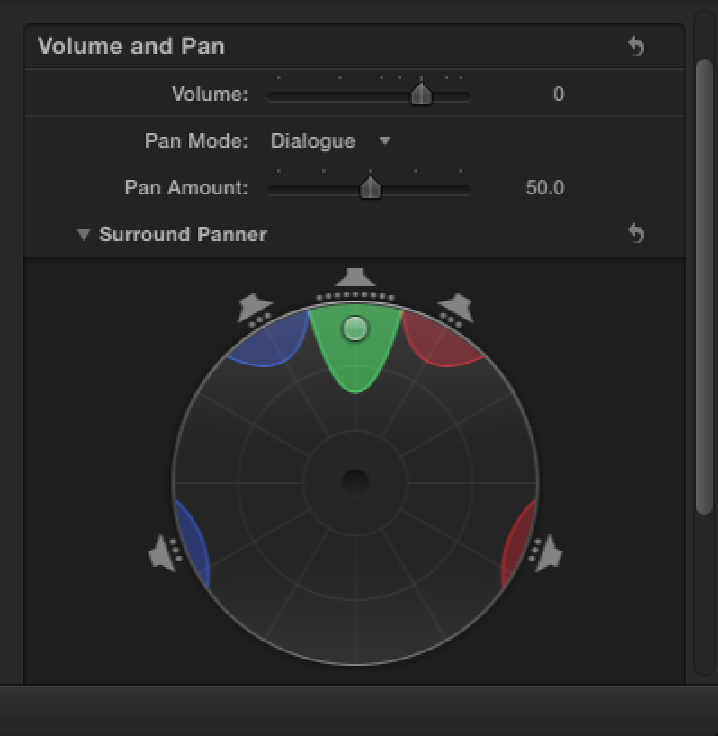
field. If you choose Dialogue as the Pan Mode, for instance, the Surround Panner shows the center speaker as
having most of the audio signal (see Figure 13.14). Whereas choosing Ambience shows most of the signal dis-
tributed among the left and right rear speakers. The strength of the audio signal is represented by the colored
areas emanating from the speaker icons, and this can be increased or decreased by using the Pan Amount slider
above the Surround Panner. You can further adjust a preset by manually placing a sound anywhere inside the
Surround Panner by dragging the round puck closer to or farther away from the sound channels. The closer to
the center the puck is placed, the more evenly the audio is distributed among all the speakers. An audio channel
also can be turned on or off by clicking its speaker icon.
Figure 13.14
The Surround Panner with the Pan Mode set to Dialogue.