Graphics Reference
In-Depth Information
•
Scene 14 Slate 48 Take 2:
A medium shot of Katie at the end of the landing as she sits down into frame
and winds her camera (see Figure 11.9). The clip continues into the first part of the next sequence during
which she spots Jason and stands to take a photo.
Figure 11.9
A medium shot of Katie winding her camera.
1.
Set the Event Browser's Filter pop-up menu to All Clips and play Scene 14 Slate 47 Takes 2 and 3. In
both takes, Katie walks into the frame and is seen in silhouette from behind. This would make a great
matching cut following on from the similar silhouette at the end of our previous clip (Scene 12 Slate 64
Take 3). Both takes are fairly similar, but we prefer Katie's approach in Take 3 because it's less hurried than
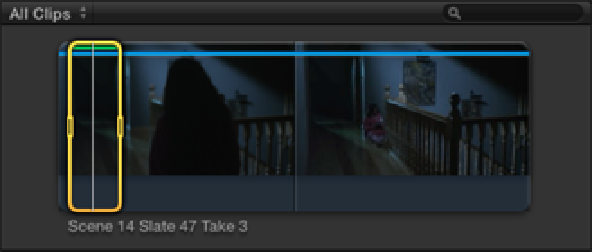
in Take 2 and we want to draw out her walk across the landing in order to build suspense. Select Scene 14
Slate 47 Take 3 in the Event Browser, and click the green Favorite line on the clip's icon to select the rated
section of the clip (see Figure 11.10). Press E to append Scene 14 Slate 47 Take 3 to the end of the Primary
Storyline.
Figure 11.10
Clicking the green Favorite line to select the rated section of the clip.
2.
Play the previous edit to see the result. Scene 14 Slate 47 Take 3 ends as Katie places her hand on the
banister to peek down at the hallway below. Scene 14 Slate 41 Take 2 is a different angle of the same action
but shot from the lower landing looking up. Select and play Scene 14 Slate 41 Take 2 in the Event Browser.
We could continue with Scene 14 Slate 47 Take 3 until Katie reaches the end of the landing, but that would
require that we view most of the scene from behind Katie. In order to achieve any identification with a char-
acter, you need to be able to see the character's face and, more important, her eyes. Cutting to Scene 14
Slate 41 Take 2 would allow the audience to reconnect with the character and help to protract the approach