Graphics Reference
In-Depth Information
•
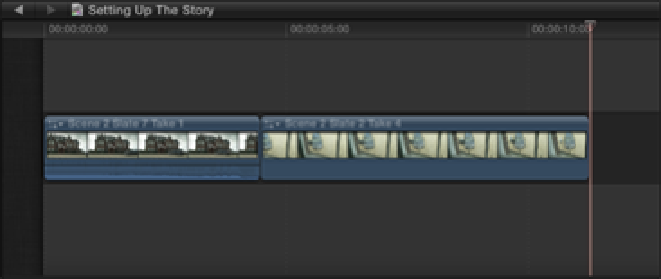
Scene 2 Slate 7 Take 1:
A wide establishing shot of the house as the car pulls in to the drive (see Figure
9.4).
Figure 9.4
An exterior establishing shot of the house.
Now that we know the story points we need to communicate for Scene 2 and have examined the footage we
have to work with, let's edit the scene:
1.
Most scenes start with an establishing shot that communicates to the audience where the scene is taking
place. This can be a distant exterior shot that sets up the location of the story or a wide interior that estab-
lishes the spatial relationship of the characters in the scene. Scene 2 Slate 7 Take 1 is a wide shot that estab-
lishes the setting and shows the arrival of the main characters, so it's an obvious shot to begin this scene
with. Set the Event Browser's Filter pop-up menu to Favorites, and then select Scene 2 Slate 7 Take 1 and
choose Edit
⇒
Append to Storyline.
2.
Select and play Scene 2 Slate 2 Take 4 in the Event Browser. This point-of-view shot from the upstairs
window shows Joyce getting out of the car and makes it seem as if someone is watching the arrival of our
characters. Placing this clip next in the sequence should immediately raise some questions for the viewer:
Who are these characters that have just arrived? Who is secretly watching them from the upstairs window?
What is the relationship between them? Every question that a new shot raises keeps the viewer hanging on
for the answer. Select Scene 2 Slate 2 Take 4 in the Event Browser and press E to append the clip to the end
of the Primary Storyline (see Figure 9.5). Press the Home key to go to the beginning, and press the Spacebar
to play back the sequence.