Graphics Reference
In-Depth Information
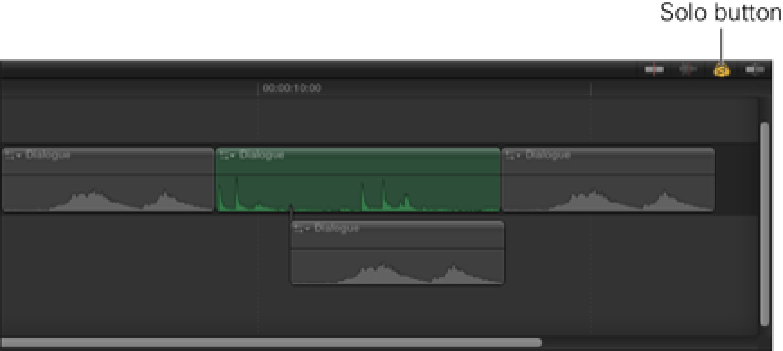
Soloed Clips from the shortcut menu. You can remove a soloed clip in the same way by choosing Remove from
Soloed Clips from the menu.
Figure 8.8
Audio tracks grayed out in the Timeline when Solo is activated.
Another way to manage which audio clips are audible is by disabling them in the Timeline. Disabling an audio
clip acts just like a mute button and silences the clip during playback. Video clips also can be disabled, prevent-
ing the clip's video from appearing in the Viewer. This is a good way to exclude a clip from a sequence without
deleting it from the Timeline.
To disable a clip in the Timeline, select the clip and then choose Clip
⇒
Disable or press V. You can re-enable
clips using the same method.
Controlling audio volume
Each audio clip displays a black horizontal line that runs across the length of the clip. This line represents the
clip's audio level. If you place the cursor over the line, an icon displays allowing you to manually adjust the
level by dragging it up or down (see Figure 8.9). Dragging the line up increases the clip's volume; dragging the
line down decreases the clip's volume. The change in decibels displays over the clip as you drag and shows how
much of the clip's volume is being changed relative to its original level. This is not an indication of the clip's
actual audio level because this can be shown only in the audio meters when playing back the clip. If you alter a
clip's volume while playing it in the Timeline, Final Cut Pro's audio meters dynamically update as the change
occurs. This is by far the best way to set audio levels as you can monitor the effect of the change as it's being
made.