Graphics Programs Reference
In-Depth Information
Stage 1: Dressing the Envelope
Objectives
: Increase the level of detail in the model in the area under
consideration.
Data
: 3D model and images (textures).
Tools
: SketchUp and Internet browser.
First of all, we carried out a texture search for the stone wall, the wooden floor,
and the concrete for the walls. A few clicks on sites containing free texture
libraries (such as CGtextures.com) will turn up a vast array of suitable textures.
Once the image was downloaded, it needed to be integrated into the model's
geometry. To do this, we first of all needed to apply a material to an object
(using the Paint Bucket tool), and then, using the Materials Editor (the Colors
palette on the Mac), we needed to assign the texture to our material. To do this
on the Windows version, go to the Edit tab, click the Use Texture Image check-
box, and navigate to your texture in the dialog box that appears. To do this on
the Mac, go to the Colors palette, choose Materials in Model (the little brick
icon), right- or Ctrl-click on your material's swatch, and choose Edit… from the
contextual menu. Now, from the Edit pane, you can change your material's
bitmap texture, overall dimensions, and hue to obtain a more precise effect.
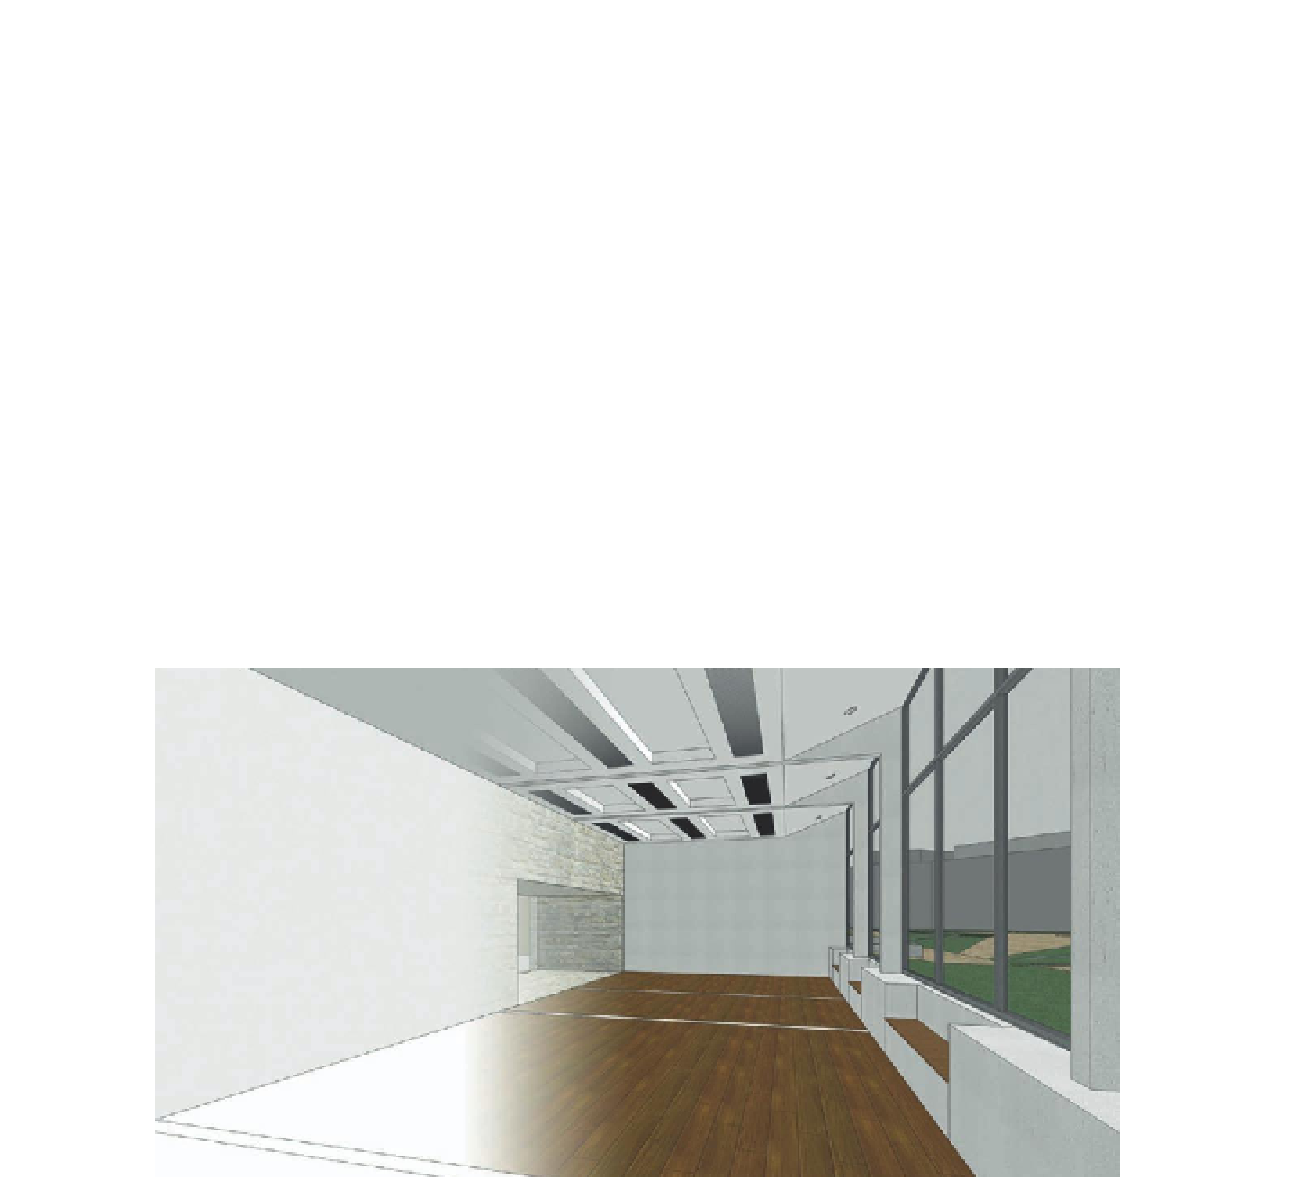
FiG 1.8
Textured model.
Stage 2: Dressing the Space
Objectives
: Fitting out the model to convey the nature of the space.
Data
: 3D model, images, and SketchUp components.
Tools
: SketchUp and Internet browser.
Search WWH ::

Custom Search