Graphics Programs Reference
In-Depth Information
Stage 2: Adapting the Model
Objectives
: Creating a model with a section cut that can be rendered by
third-party programs.
Data
: 3D model.
Tools
: SketchUp, Zorro 2, and Section-Cut Face plug-ins.
Now, the rendering engine had been chosen; next, we needed to solve the
problem of how to create a model with a section cut. We could modify all the
groups in the model one by one, cutting them where we want our section
plane to be, using the Intersect Selected tool, but that would be an extremely
long and tedious operation.
Luckily, in this situation - as in so many others - we can get around the initial limits
of the program, thanks to the ingenuity of Ruby script programmers. To resolve
the current problem, we just need to use the Zorro 2 script, which automatically
erases all the geometry on one side of a SketchUp section plane, allowing the
model to then be exported to a rendering program with a section cut visible.
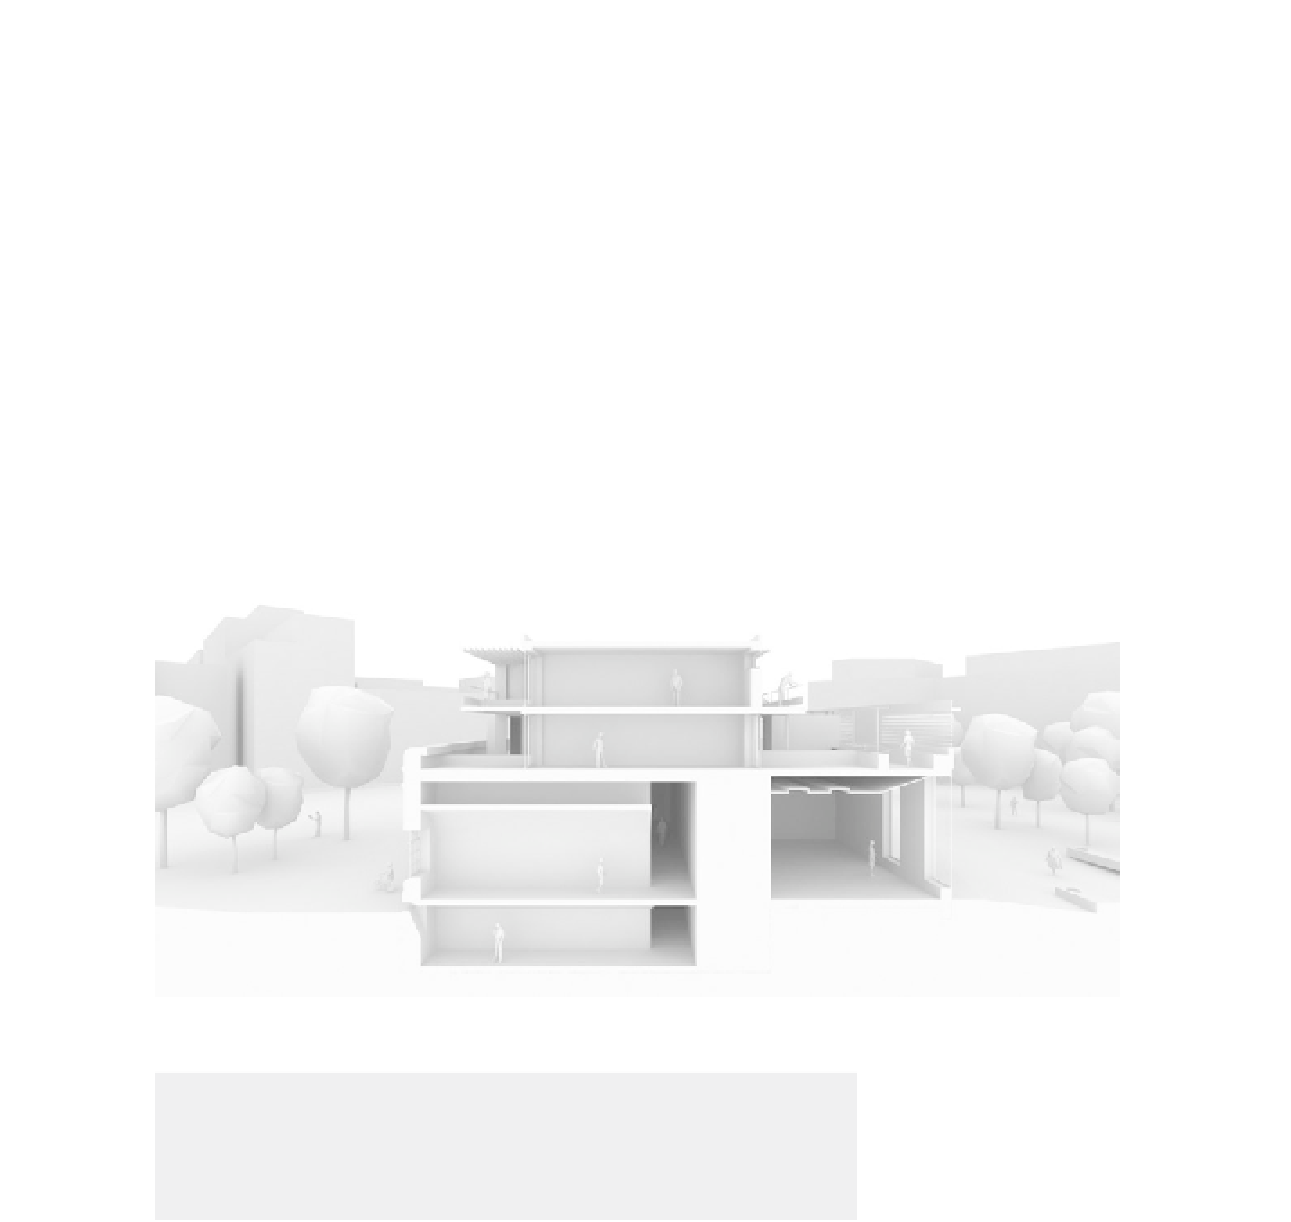
FiG 1.6
The render.
Tip
Since the operation carried out by the Zorro 2 script is destructive (it erases
geometry) and is sometimes subject to errors, it should always be run on a
copy of your model.
SketchUp, being a surface modeler, produces open section cuts when used
with the Zorro 2 plug-in. This would be a good point to run the Section-Cut
Face plug-in, which, as its name suggests, caps the open ends of the section
cut with a face, giving a solid edge to the section - a much more aesthetically
pleasing result.
Search WWH ::

Custom Search