Graphics Programs Reference
In-Depth Information
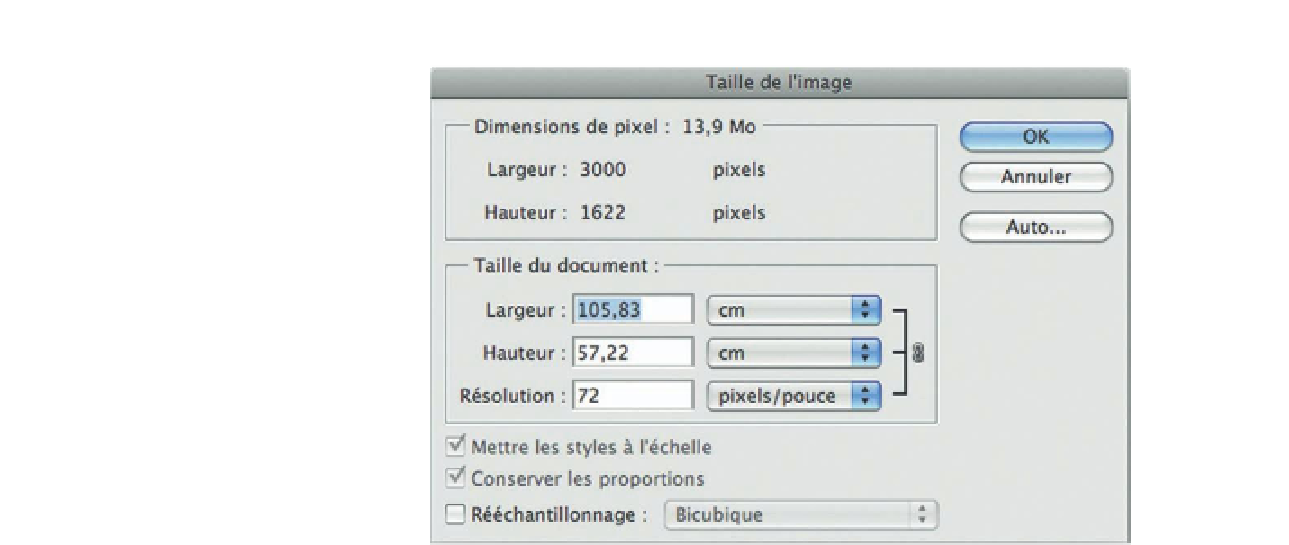
FiG 13.4
Photoshop's Image Size
dialog.
size (10" wide) and 4× the resolution (300 dpi) of the original image. When
images were reduced below a width of 10", they were resampled in order to
maintain a resolution of 300 dpi.
Note: Anything less than 300 dpi will be unacceptable to topic printers,
because those images will be noticeably inferior to the naked eye. Fortunately,
with a topic 8" wide, I never had to worry about images lower than 300 dpi.
Step 6: Add Overlays
Goal
: Add overlays as discussed in the section Technical Aspects.
Inputs
: Overlays created within Adobe's Creative Suite 3.
Tools
: Adobe CS3 Photoshop and Illustrator.
The last step in each illustration before creating its final TIFF image was to
add the necessary overlays to augment the basic scene. Figure 13.2 included
arrows and text created in Illustrator, and an “illuminated” traffic light and
brake lights created in Photoshop. This was done in the following steps:
1.
Create a new layer.
2.
Select the gradient toolbar (see arrow).
3.
Select the Diamond Gradient tool (see circle).
4.
Then drag from the center of the “light” to the point where you would like
the fadeout to end. This is how the lighting effect was added to the traffic
light in Figure 13.5.
Finally, the image as it appears in the topic is shown in Figure 13.6. You may have
noticed that the traffic lights are no longer green and vehicle taillights no longer
red? This is because the entire image had to be converted from RGB to gray
scale (in Photoshop) since the topic's interior was printed in black and white.
Search WWH ::

Custom Search