Graphics Programs Reference
In-Depth Information
1.
The SketchUp file is exported to Artlantis format and is given a name, for
example, Project_01.atl.
2.
The file can now be worked on in Artlantis, adding point light sources,
creating materials, adding reflection and bump mapping, adding 3D
objects from Artlantis' own libraries, etc.
3.
Because of a demand from the client, drastic changes have to be made to
the original SketchUp model. However, the work already done in Artlantis
will not have to be repeated.
4.
A new Artlantis file is exported from SketchUp and given the name
Project_02.atl.
5.
This new file is now opened in Artlantis and saved.
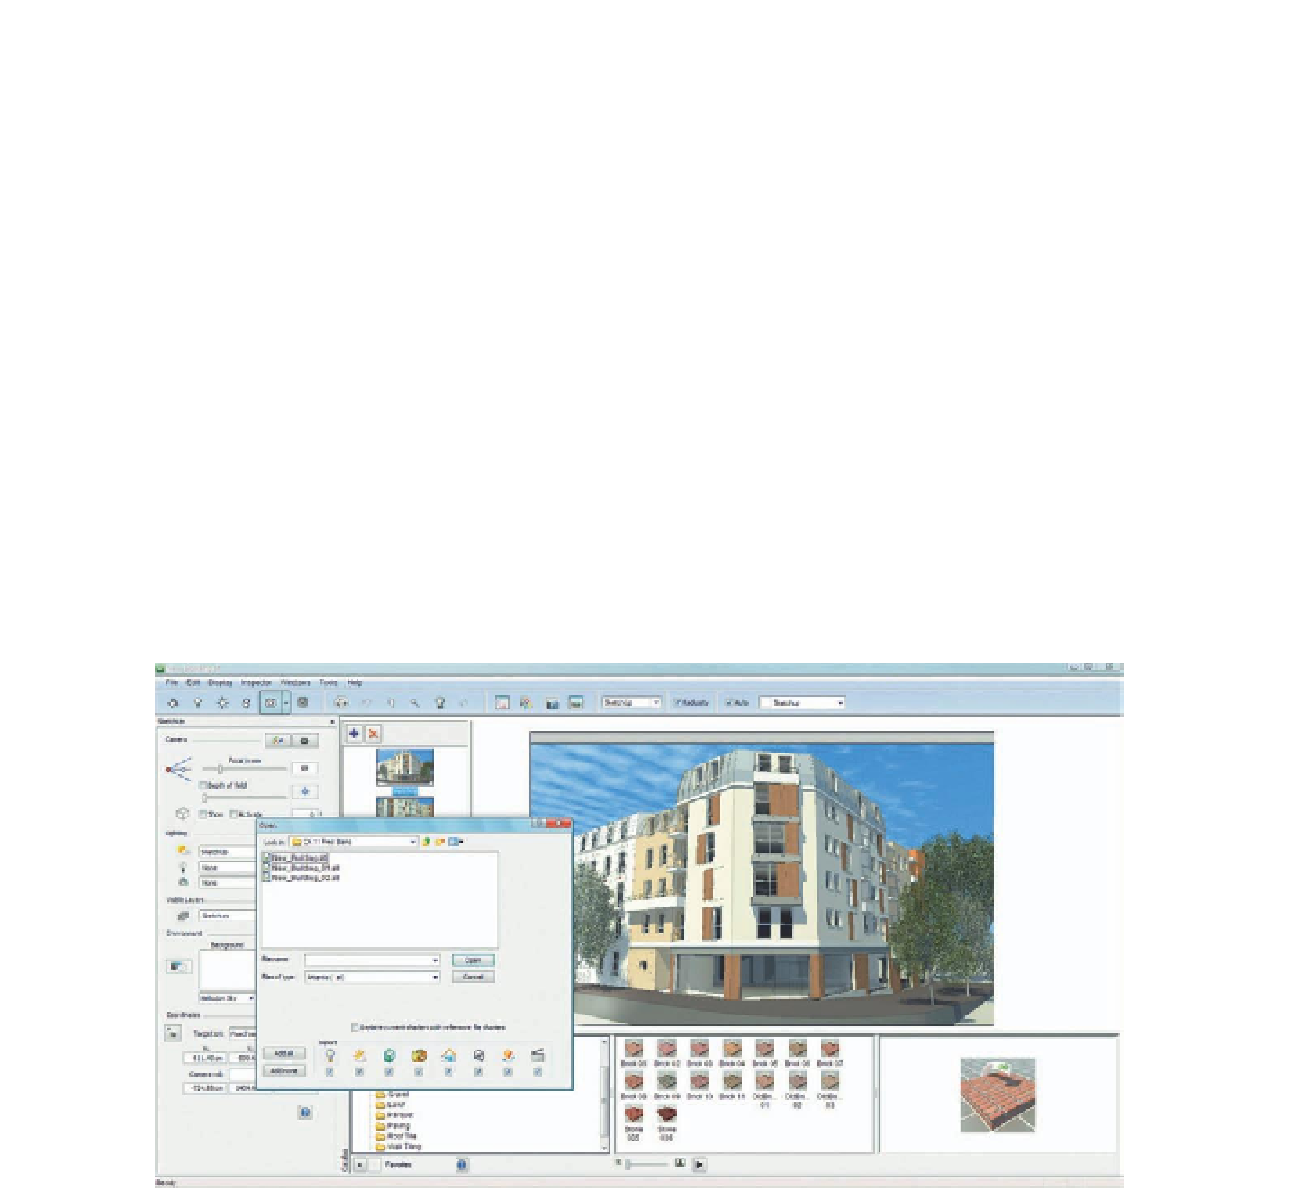
6.
Now, from the File menu, Use Reference File… is chosen. A dialog box opens
that allows you to navigate to your reference file, in this case the Project_01.
atl file. Certain options appear in the dialog, which allow some or all of the
changes made in the first Artlantis file to be copied over to the new file, such
as camera views, applied textures, placed objects, and sources of illumination.
Thanks to this method, work already carried out never has to be repeated and
no time is wasted. The Artlantis and SketchUp files are linked, and work on the
model's geometry and render setup can be carried out in parallel.
FiG 11.7
Artlantis' interface, showing the Use Reference File... function.
Stage 5: Artlantis' Site Insertion Module
Objective
: To place the virtual building in context using a site photograph.
Data
: Site photography and textured 3D model.
Tool
: Artlantis' Site Insertion function.
Search WWH ::

Custom Search