Graphics Programs Reference
In-Depth Information
Stage 6: Detailed 3D Modeling in SketchUp
Objective
: To create a detailed 3D model that would be used as the basis
for computer-generated renders.
Data
: 3D sketch approved by the client.
Tool
: SketchUp Pro.
After an inconclusive attempt to separately model the interior and exterior
of the house, the modeling was started anew. The client-approved 3D rough
was loaded into SketchUp and the whole thing was grouped and placed
onto its own layer. This model would serve as a reference for any subsequent
modeling and its visibility could be easily turn on and off by unticking the
Visibility checkbox on the layer.
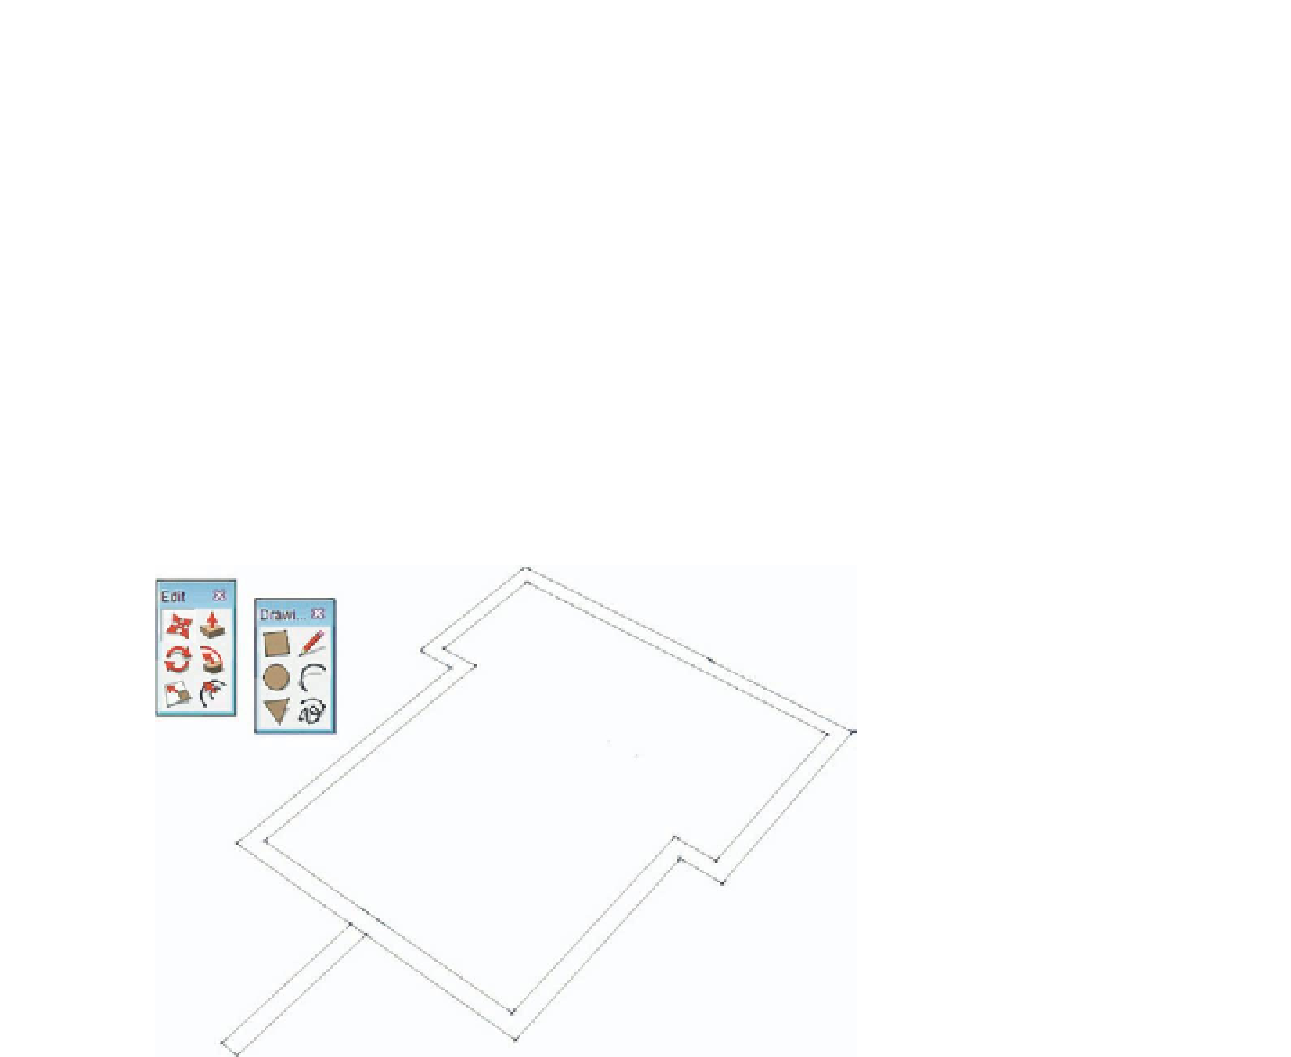
Modeling was started by drawing the outline of the house using the Line tool.
Once this outline was complete, the wall thicknesses were added by using the
Offset tool.
FiG 10.3
Tracing the outline.
First, the walls and interior partitions were modeled, along with the stairwell.
To make. subsequent modeling work easier, materials from the 'Layers' library
were assigned to all the different materials in the model: One for the stone
wall work, another for brickwork, another for stud partitions, etc.
With this stitch over, the walls and partitions were extruded using the Push-
Pull tool to a height a yard or two greater than the ridgeline of the roof.
Next, the two roof pitches were modeled by simply drawing two lines and
then rotating them to the correct pitch using SketchUp's Rotation tool. These
lines were then Copy-Moved so that the resulting roof pitch would completely
Search WWH ::

Custom Search