Graphics Programs Reference
In-Depth Information
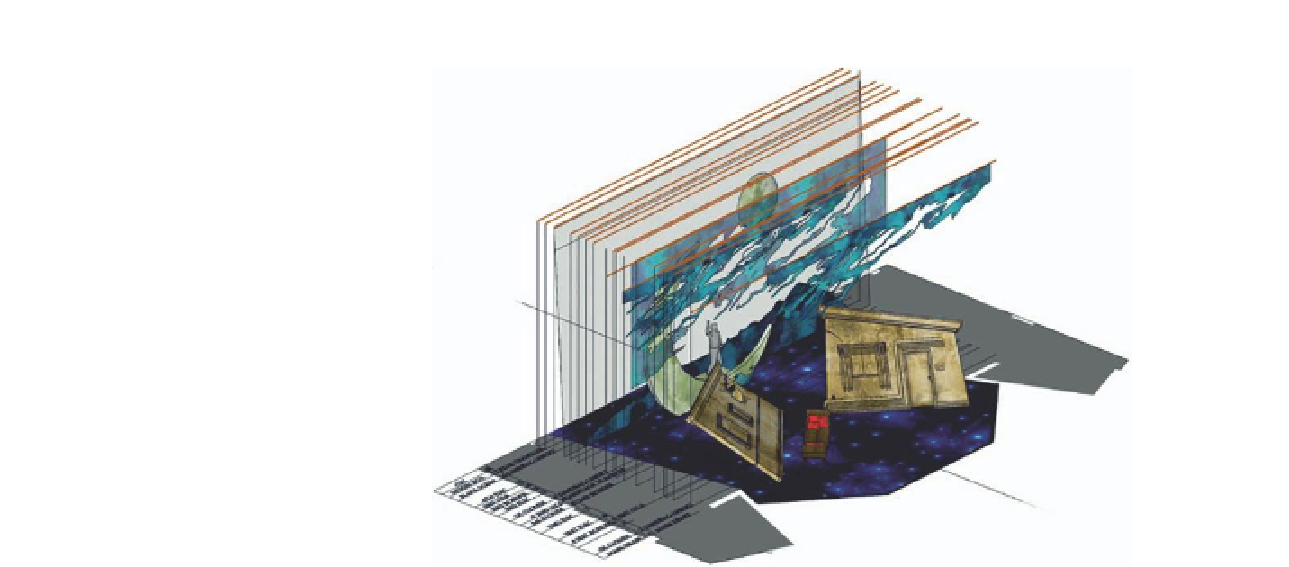
FiG 9.6
Model without walls.
Step 8: Presenting Final Design, 3D Computer Model, SU
LayOut Presentation, and Updated Ground Plans
Objectives
: To present the final design, 3D computer model, SketchUp LayOut
presentation, and updated ground plans to the director and the creative team.
Data
: Printed LayOut color renderings and ground plans, and CDs with
model and SketchUp viewer for production team.
Tools
: SketchUp Pro.
I use the finished SketchUp 3D model to present the design. Because scenes
have been created, the slideshow option in SketchUp can be used for presen-
tation. On some occasions, I project the presentation onto a screen.
Step 9: Final Design Approved - Final Ground Plans and
Center Line Section to Be Created
Objective
: Create technical drawings.
Data
: SketchUp model.
Tools
: SketchUp Pro, AutoCAD.
The ground plan is created as follows: From the Top View in SketchUp, I go to File,
Export, and 2D Image, and select.dwg file. I then open the .dwg file in AutoCAD
and finalize the drawing. Usually, I “clean up” the drawing a bit. A few examples
for this are given here. Often, there are extra lines stacked on top of each other
that are remnants of the conversion from 3D to 2D that I need to erase. I redraw
circles and arches (they are segments when imported from SketchUp and it is
difficult to put dimensions on them), and I put areas of the drawing on different
layers in order to organize the drawing and create line weights. For example,
I put all scenery on its own layer to differentiate it from other elements.
Search WWH ::

Custom Search