Graphics Programs Reference
In-Depth Information
The surface was then assigned a color using the Paint Bucket tool. At this stage,
you can Copy-Paste the surfaces just created into a second model inside the
same file. This way, you can get the already created surfaces out of your way and
begin drawing the next surfaces using the imported DWG file as a template. Any
previously created contours can be easily reused if required. The bounding box
around the model can also be used to put elements back rapidly and without error.
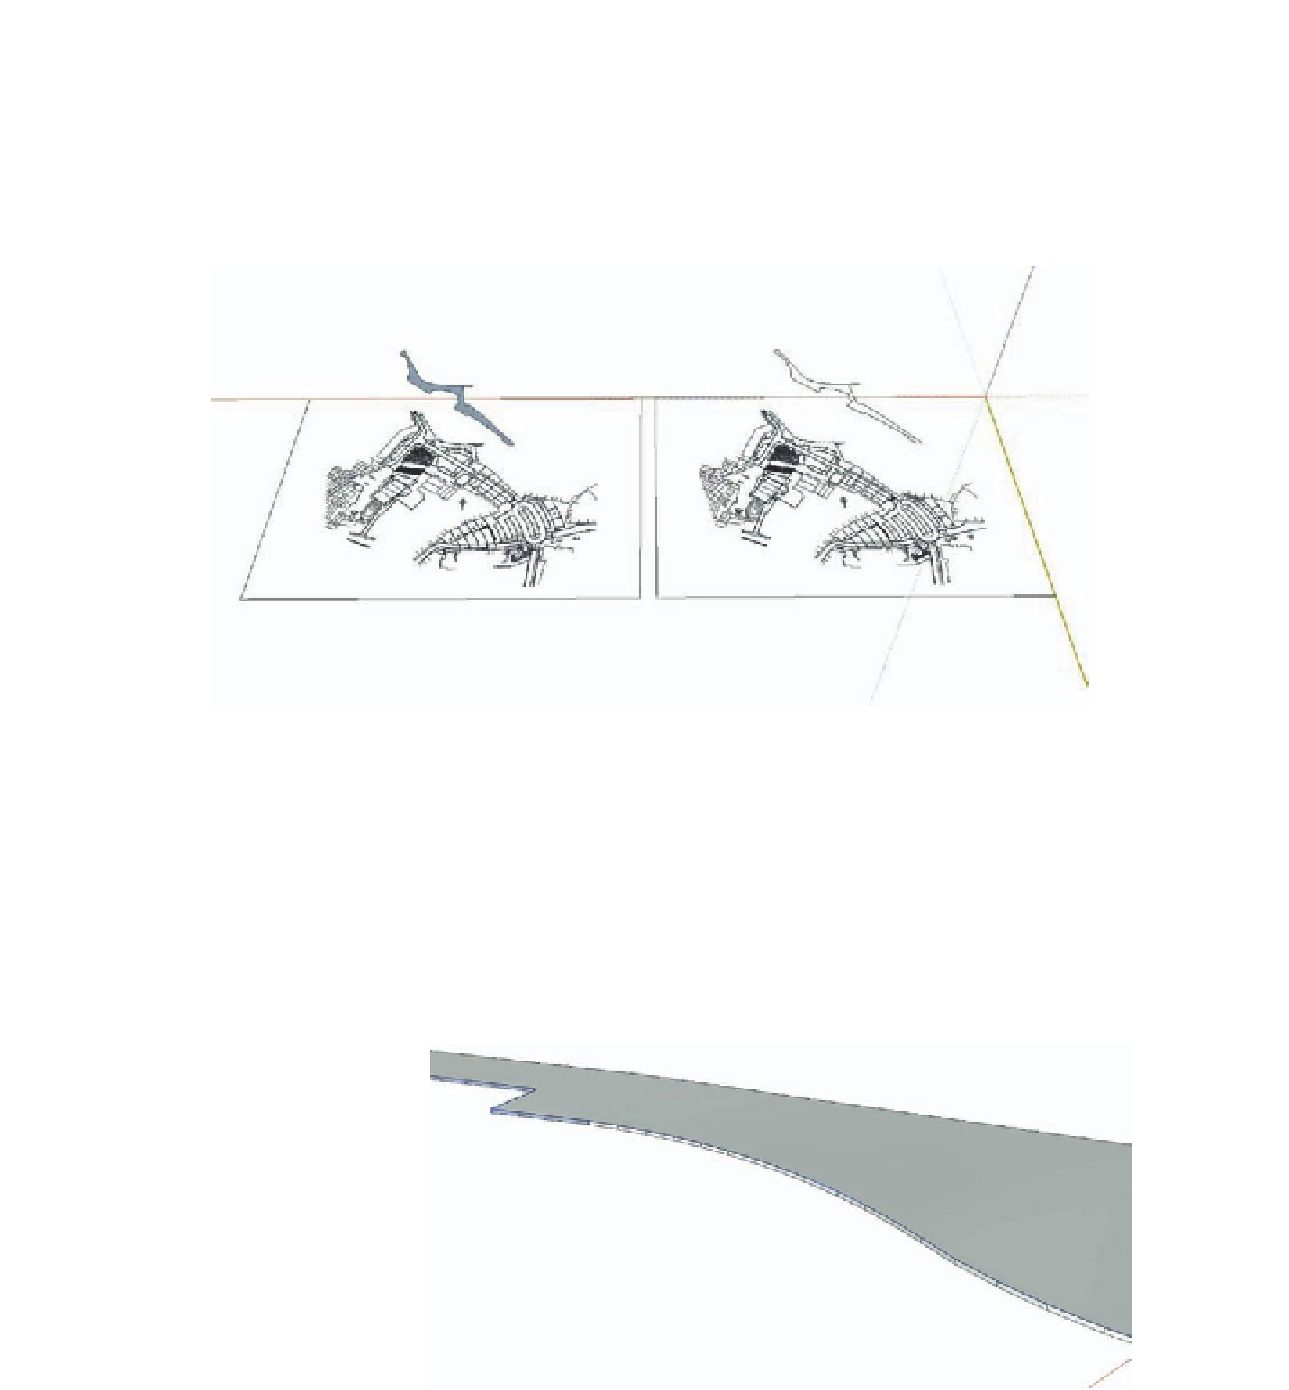
FiG 4.10
Surface moved to one side, given a material.
Stage 3.2: Modeling the Curbs
The curbs were modeled directly from the Sandbox surface derived in the
previous stage, which represents the sidewalk. The edges of this sidewalk
surface were selected and, using the Extrusion function of the Projections
plug-in, the entire pavement surface was extruded in the Z axis up to the
curb height (see Fig. 4.11). The Projections plug-in must be used here
because SketchUp's normal Push/Pull tool works only on planar faces.
FiG 4.11
Extrusion of the edges of
the curb.

Search WWH ::

Custom Search