Graphics Programs Reference
In-Depth Information
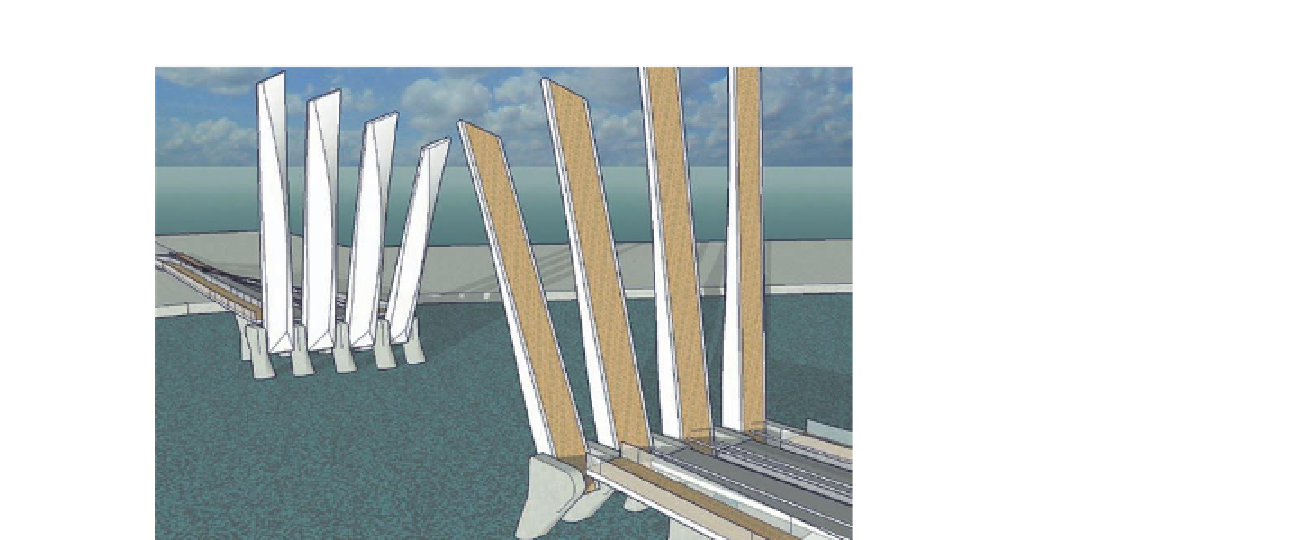
FiG 2.14
After a positional option is
reloaded, yet another design option
is reloaded.
Step 9: Evaluating Design Options in Still Images/Batch
Image Export
Goal
: Using the animation export function, automatically export all scenes
as image files.
Inputs
: The main project model and submodels as design options.
Tools
: SketchUp, the Scene Manager, and animation export.
SketchUp does not have batch 2D export, but we can export images one by
one via File > Export > 2D graphic. The following procedure automates this
process by utilizing SketchUp's native animation export function.
1.
Set up your scenes with all properties set to your preferences. Check
Include in Animation, of course.
2.
View > Animation > Setting, Uncheck Enable Scene Transitions. Scene
Delay has no effect on this operation.
3.
Go to File > Export > Animation and choose a file destination and an
image format from the options of . jpg, .png, or tiff.
4.
Click Options. Image size and Frame rate can be set to whatever you what.
Uncheck Loop to Starting Page and Play When Finished.
If you want high-quality images, check Anti-Alias, but this can make the
process too time-consuming. Click OK.
5.
In the destination folder you specified earlier, you should find rendered
image files of all your scenes.
Step 10: Applying DOF Directly to SketchUp Output
Goals
: Generate a depthmap from SketchUp using its Fog function, then
apply the map to images to give them DOF.
Inputs
: A SketchUp model and depthmap.

Search WWH ::

Custom Search