Information Technology Reference
In-Depth Information
The right hand side of the application is where a lot of the magic will be happening for
you. Here, you can choose from a variety of preconfigured video settings so all you have
to do is input a video source, decide where you want to save your video, choose one of
the settings that strike your fancy, and start encoding.
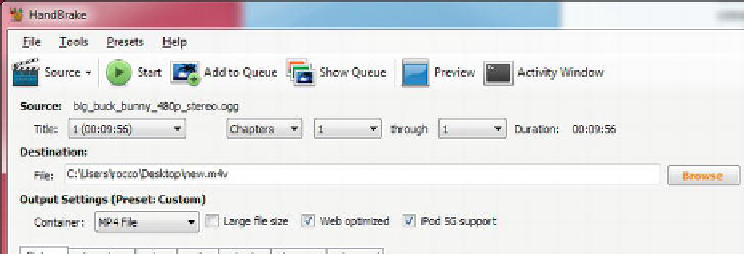
If you take a look at Figure 11-9, you will also notice two little checkboxes next to the
video container options. These checkboxes,
Web Optimized
and
iPod 5G Support,
are
two options you may want to experiment with when encoding your videos. In some
cases, I have found that these settings have helped me create better quality video files
for use in the browser. At other times, however, they caused me nothing but heartache.
It all comes down to the video file you are using as your source material. Video can be
tricky, especially when transcoding it from one format to another. In the end, one must
generally “play” a bit with settings to get the best possible result. If your video file is
large (therefore needing more time to transcode), you might consider splitting off a small
section of it to experiment with. Once you've found the right combination of settings and
options, you can then convert the long version of the video, saving yourself some time.
Figure 11-9.
Setting the video source, destination and video container settings within Handbrake for Windows 7