Graphics Programs Reference
In-Depth Information
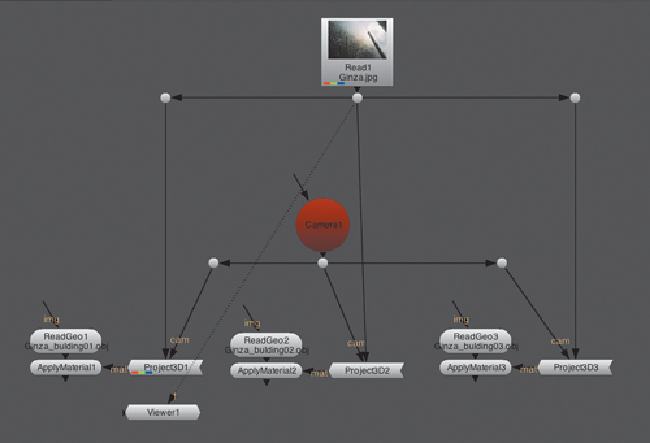
Let's build the rest of the scene to connect this whole thing up. You need a Scene
node, another Camera node, and a ScanlineRender node.
29. Create Scene and ScanlineRender nodes. Make sure that Scene1's output is con-
nected to ScanlineRender1's Obj input.
30. Connect the three ApplyMaterial nodes to Scene1.
Now, why do you need a camera? You already imported a camera into the scene.
Well,thecamerayouhave,Camera1,isbeingusedasaprojectorifyourecall.So
you need another camera to be able to shoot through. You also want to be able to
move the camera to get the 3D movement you set out to achieve. If you move the
projection camera, the texture will move, so that's not allowed. It's easier if the
camera you shoot the scene with is based on the projection camera as a starting
point, so that's what you will now do.
31. Copy and paste Camera1 to create another camera.
You now have two cameras. This can be confusing, so rename them to easily fig-
ure out which is which.
32. Double-click the original Camera1 and enter a new name, ProjectionCamera, in
the field at the top of the Properties panel.
33. Double-click Camera2 and change its name to ShotCamera.

Search WWH ::

Custom Search