Graphics Programs Reference
In-Depth Information
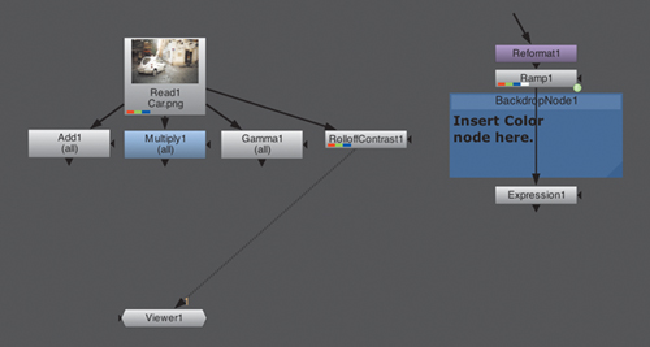
4. Make sure you are viewing the output of Expression1.
A quick explanation of the script you imported, node by node:
• The first node is a Reformat node, which defines the resolution of your
image. In this case, 256×256. Notice that its input isn't connected to any-
thing. This is a good way to set a resolution for your tree.
• The second node is a Ramp. This can be created from the Draw toolbox.
This node generates ramps—in this case, a black to white horizontal ramp
from edge to edge.
• The third node is a Backdrop node, used to highlight areas in the tree. You
canfinditinthetoolboxcalled Other.Itindicates wheretoaddyourcolor
correction nodes in the next step.
• The fourth and last node is an Expression node. This is a very powerful
node. It can be found in the Color > Math toolbox. It lets the user write an
expression with which to draw an image. You can do a lot of things with
this node, from simple color operations (such as adding or multiplying,
though this is wasteful) to complex warps or redrawing of different kinds
of images all together. In this case, you use this node to draw values of a
horizontal black to white ramp (you have the ramp from above) on-screen
as white pixels in the corresponding height in the image. A value of 0.5
in the ramp will generate a white pixel halfway up the Y resolution in the
output of the Expression node. The left-most pixel is black in the ramp,
and shows as a white pixel at the bottom of your screen. The middle pixel
Search WWH ::

Custom Search