Graphics Programs Reference
In-Depth Information
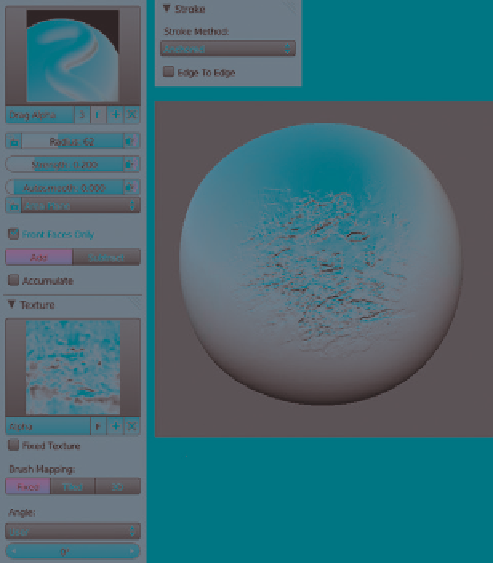
Drag Alpha
The Drag Alpha brush uses the anchored stroke set-
ting to drag alphas over the surface of a mesh, but
otherwise it's just a basic Draw brush. You can create
this brush, shown in Figure 6-10, by taking the fol-
lowing steps:
Making Brushes Available by Default
In order to load your custom brushes by default, you
need to include them with your default .
blend
file,
the file that loads up every time Blender starts. To
do this, create a new .
blend
file, create (or append)
any brushes you want to make available by default,
and then save the modified file (
File
4
Save User
Settings
). To append into an existing brush, choose
File
4
Append
(or
shift
-F1); then select the .
blend
file where you created your brushes, select
Brushes
,
choose the brushes you want, and click
Append
.
Now your custom brushes will be available whenever
you want to sculpt.
1.
Duplicate the Draw brush and add a texture.
Most any texture will work; I chose a rocky
image.
2.
Because you can use all sorts of textures with
this brush, different falloff curves are useful.
For images with a natural built-in falloff to
them, like the Clay Tubes and Rake textures
(that are black around the edges), you can set
the curve to Flat. For textures that you've cre-
ated from photos or other images that don't
have natural falloff (the pattern covers the
whole image), use one of the preset curves.
A preset curve creates a nice transition so that
the alpha won't produce an obvious edge when
drawn out over your mesh.
Improving your Sculpting Experience
To get the best from Sculpt mode, you need to tweak
Blender's settings a bit. The goals are twofold: to
ensure that you get the best performance while
sculpting and to configure Blender's 3D Viewport
and materials to make it easier to see the effects of
your brushstrokes on your model while sculpting.
Optimizing Sculpting Performance
Of course, the best way to improve sculpting per-
formance is to use a powerful computer with a lot
of RAM. At minimum, you'll need 4GB of RAM if
you plan on going into the millions of polys, but
more certainly won't hurt. But barring hardware
upgrades, here's how to make the most of what
you have.
Close other programs.
If you're rendering in
another instance of Blender or burning a DVD
at the same time, your sculpting performance
will suffer!
Enable VBOs (Vertex Buffer Objects).
Open
Blender's User Preferences (
File
4
User
Preferences
or
ctrl
-
alt
-U), go to the System
tab, and select the
VBOs
checkbox. This will
boost the performance of the 3D Viewport if
your graphics card supports VBOs.
Turn on Fast Navigate.
You'll find Fast Navigate in
the 3D Viewport Tool Shelf under Options. Fast
Navigate causes your model to switch back to a
lower subdivision level when you move or rotate
the 3D Viewport, speeding up navigation while
sculpting.
Figure 6-10: The Drag Alpha brush, used here with a rough
concrete alpha texture
Search WWH ::

Custom Search