Graphics Programs Reference
In-Depth Information
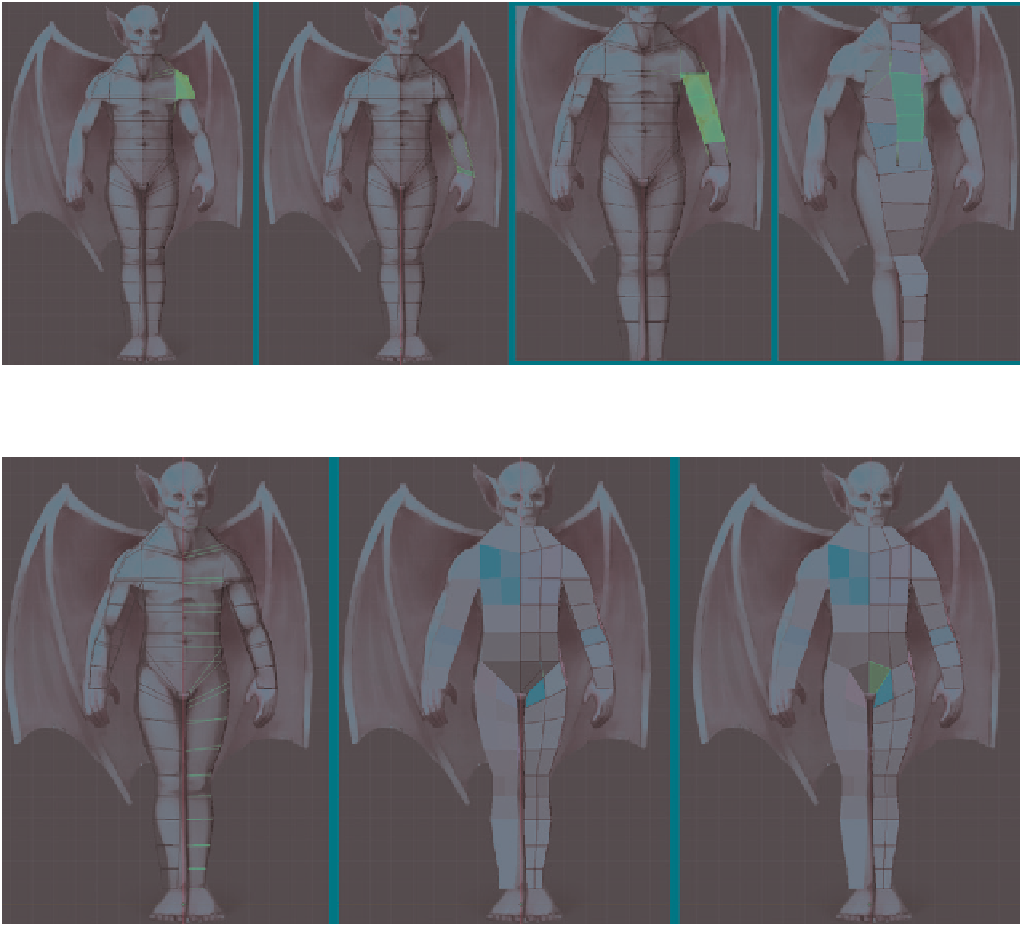
Figure 4-15: Extruding the arms. Creating a corner at the shoulders gave the arm a more natural shape.
Figure 4-16: Adding an extra edge loop around the torso and legs and merging a couple of edges to clean up the mesh
*
Though we won't cover rigging in detail, note that
torso and legs. Doing so created some awkward
topology at the pelvis, which I fixed by selecting
the two new edges and merging them, as shown
in Figure 4-16. I did the same for the edges on the
backside, too.
I added an edge loop around the middle of the
character as seen from the side (Figure 4-17) and
running across the chest and down the arms. I then
further refined the body shape, tucking in the waist
at the back and rounding out the shape of the legs
and arms. This step brought the number of vertices
around the arms and legs to a total of eight, which
would be important when adding hands and feet.
there is a reason for the classic T pose. When it comes
to rigging, having a character's arms out straight can
make it simpler to set up bone chains and constraints.
However, continuing improvements in Blender's rig-
ging tools have made it somewhat less necessary to
do this. You can always re-pose your model in the T
pose after having modeled and sculpted it in a more
relaxed pose.
Next, I selected all the edges running down the
front and back of the body and legs and subdivided
them (
W
) to allow me to refine the shape of the
Search WWH ::

Custom Search