Graphics Programs Reference
In-Depth Information
Figure 14-15: The node tree for compositing the Spider Bot
Painting the Sky in GIMP
To create a sky background, I first saved my uncom-
posited render from Blender's Image editor as
a
.png
image with transparency (when saving,
remember to choose
RGBA
next to the file type to
save the transparency as well). Then, I opened the
image in GIMP. To create a background for the
top right-hand corner, I opened a sky texture from
CGTextures as a layer (see Figure 14-17) and put it
below the render in my layer stack. I then scaled and
positioned the background to put a nice bit of cloud
in the top corner (as you can see in the first image
in Figure 14-17). To create a nighttime background,
I used the Curves tool to really darken the clouds
layer, while using the Hue-Saturation and Brightness
tools (Colors
4
Hue-Saturation) to reduce the satura-
tion of the layer a bit so that the colors didn't look
too saturated.
Next, I added some embellishments to the cloud
image using the Dodge/Burn tool (set to Dodge)
and added highlights to the edges of some clouds
using a soft-edged brush. I also created a new trans-
parent layer and set its Blend mode to Overlay. I
then used this new layer to incorporate some extra
colors around the clouds: a light blue around the
edges of the leaves on the temple and some greens
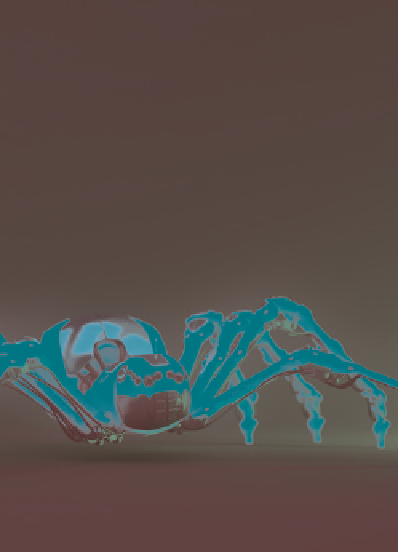
Figure 14-16: The composited Spider Bot

Search WWH ::

Custom Search